

Gold balloon arches grab attention fast. They frame entrances, anchor photo moments, and set a bold tone without complex setup. This guide focuses on extravagant gold balloon arches that look dramatic yet stay realistic for DIY planners. Each idea below shows how to get impact using smart sizing, texture, and placement—without overspending or overcomplicating your setup.
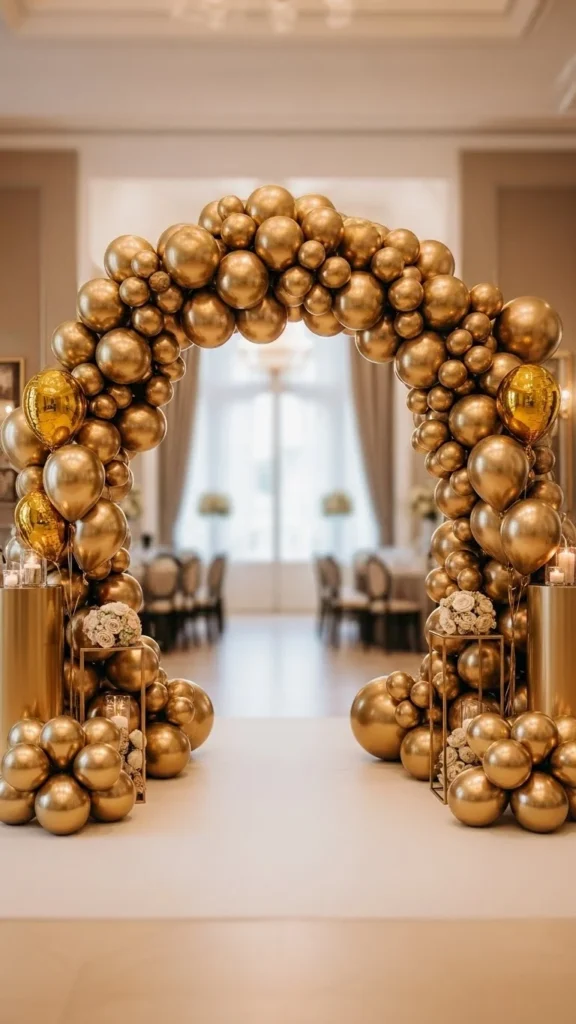
1. Full Metallic Gold Entrance Arch
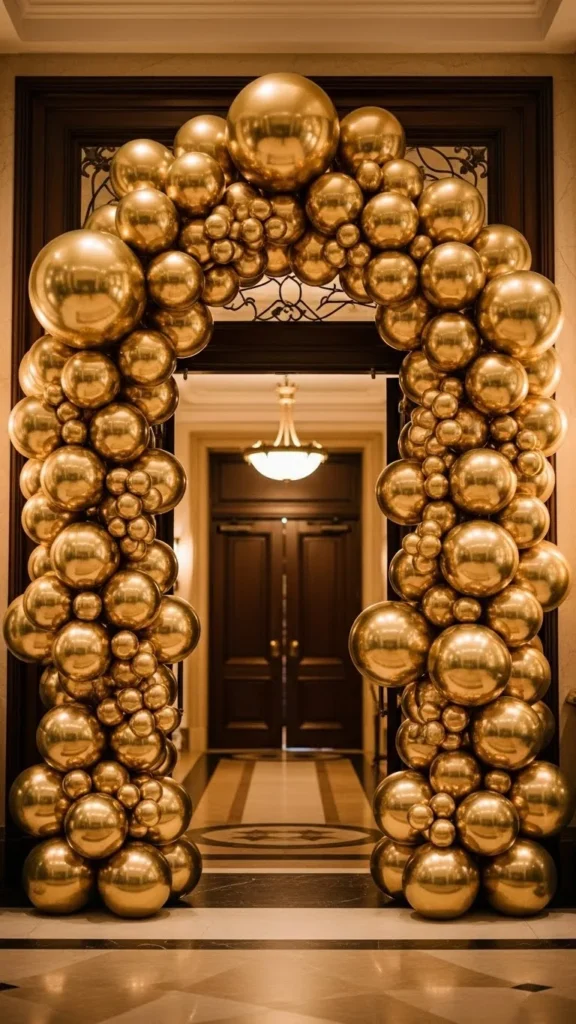
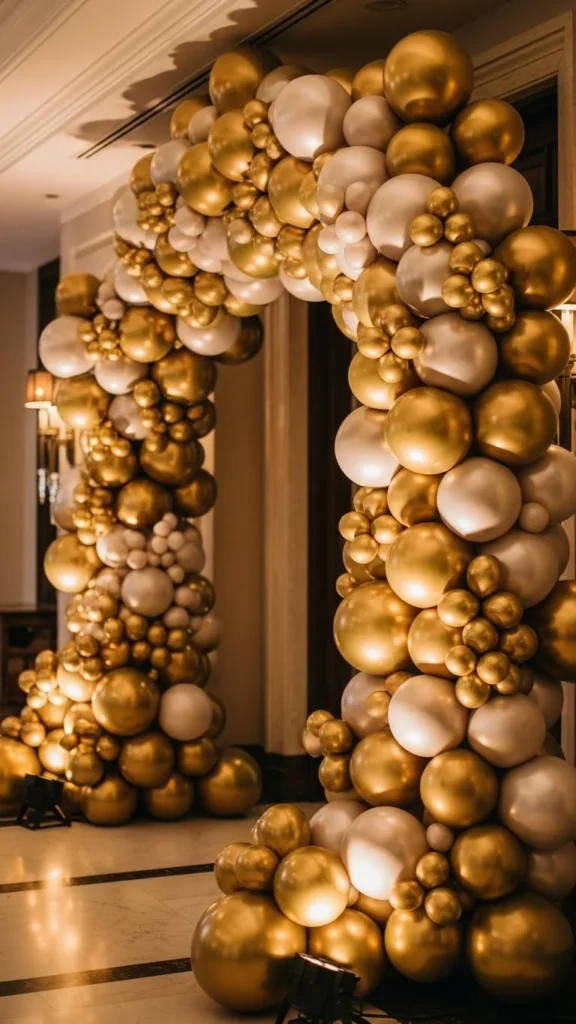
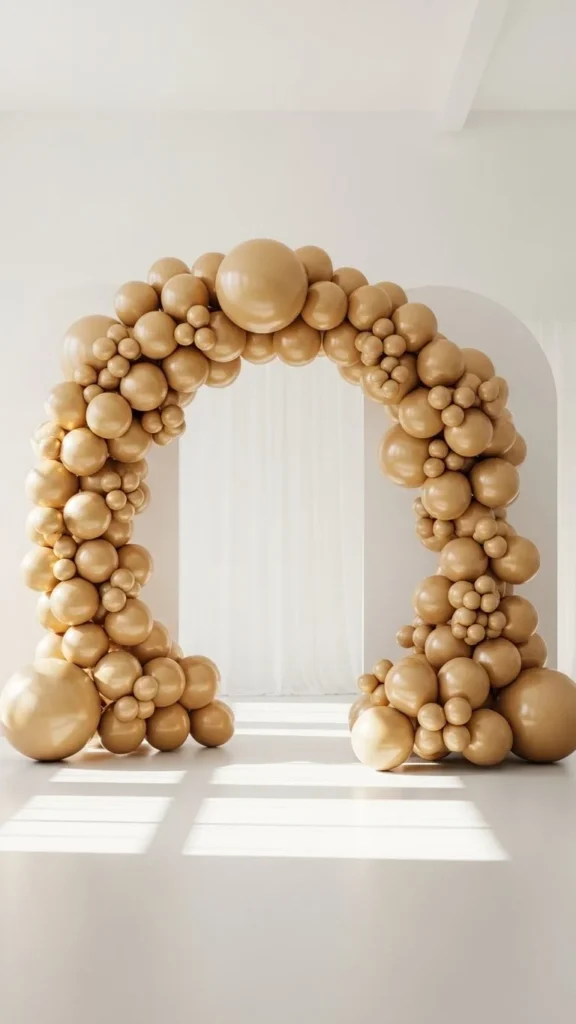
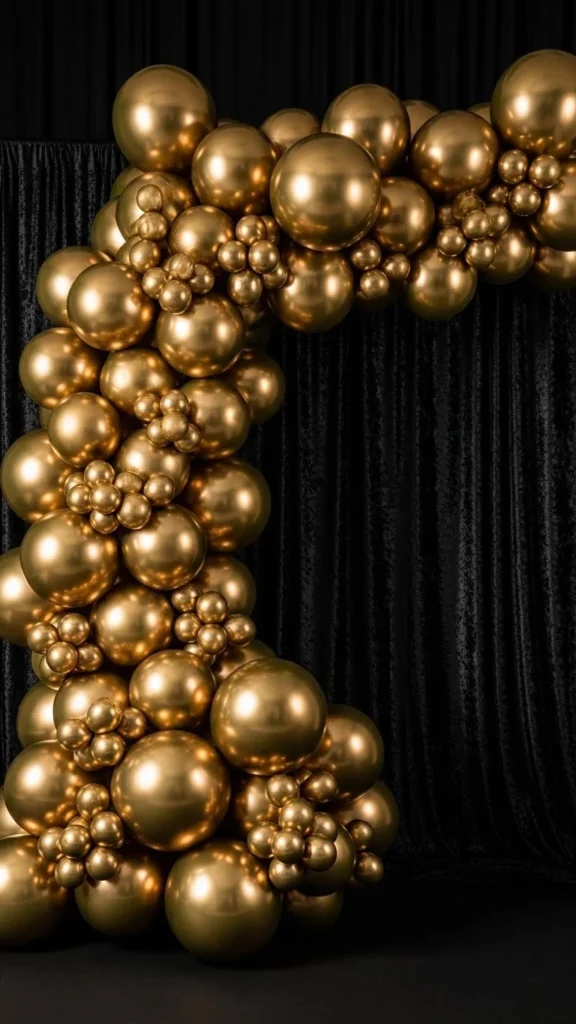
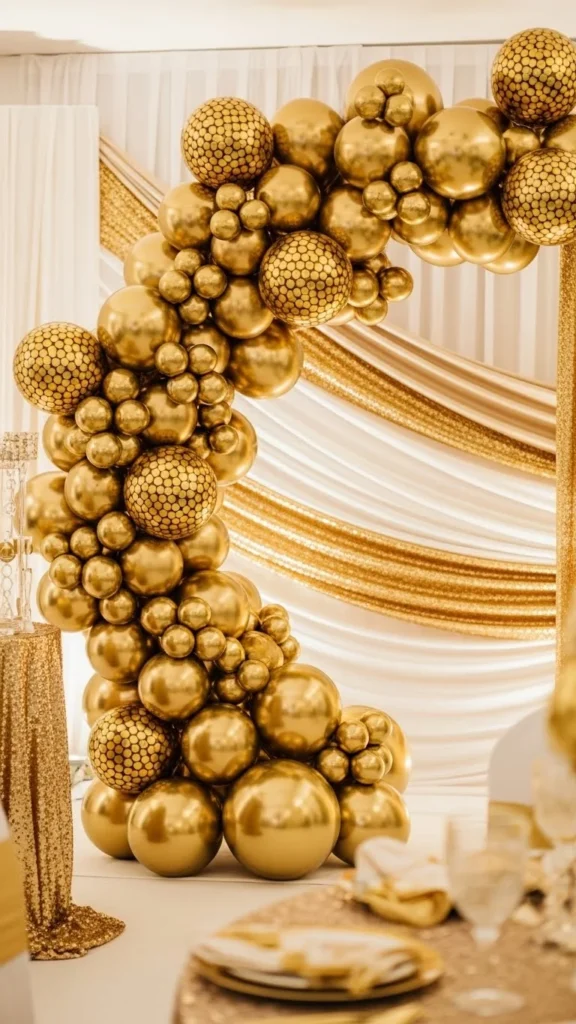
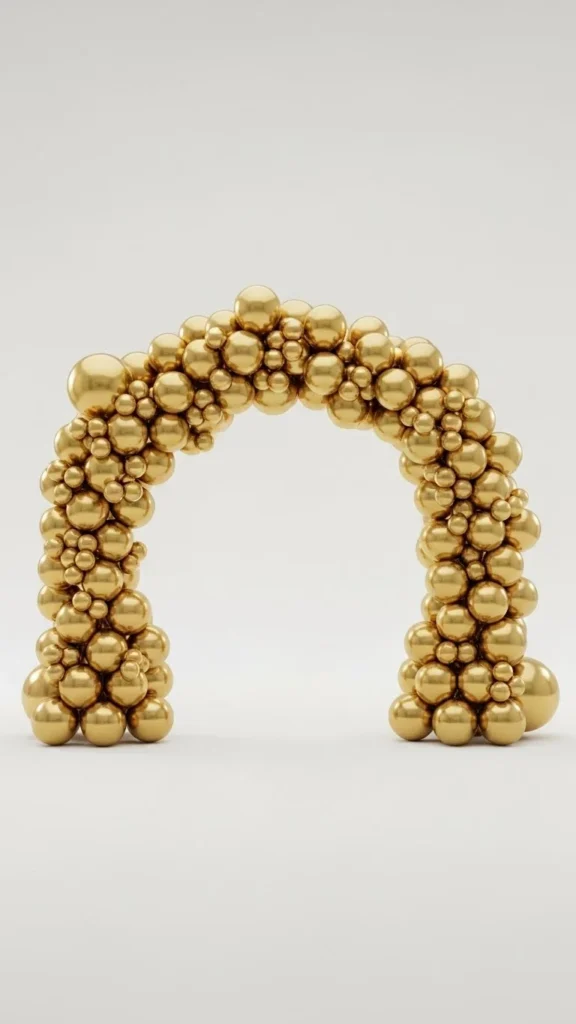
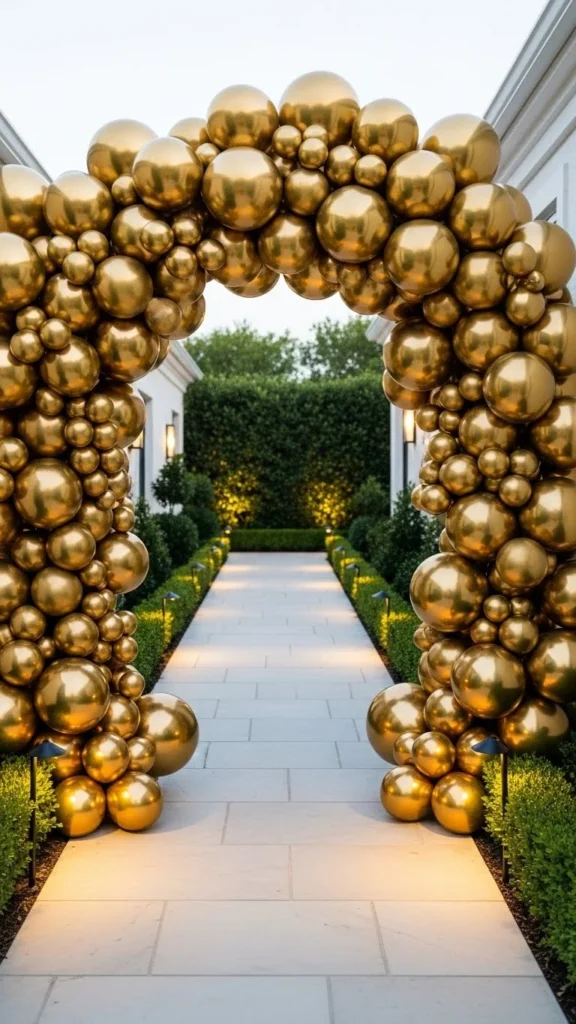
A full metallic gold entrance arch works best when you want instant drama. The key is scale. Use large balloons as anchors, then layer medium and small sizes to fill gaps. This creates depth without extra supplies.
For DIY builds, stick to one gold tone. Chrome gold balloons reflect light well and look dramatic even with fewer pieces. Rent a simple arch frame or use fishing line attached to removable hooks. This keeps costs low and setup fast.
Place the arch slightly forward from the doorway. That spacing gives better photos and prevents crowding. Add balloon tape instead of tying every piece. It saves time and keeps spacing tight.
If the arch feels flat, add five to eight pearl or matte gold balloons for contrast. Keep them clustered near the curve’s peak. This small change adds dimension without changing the color theme.
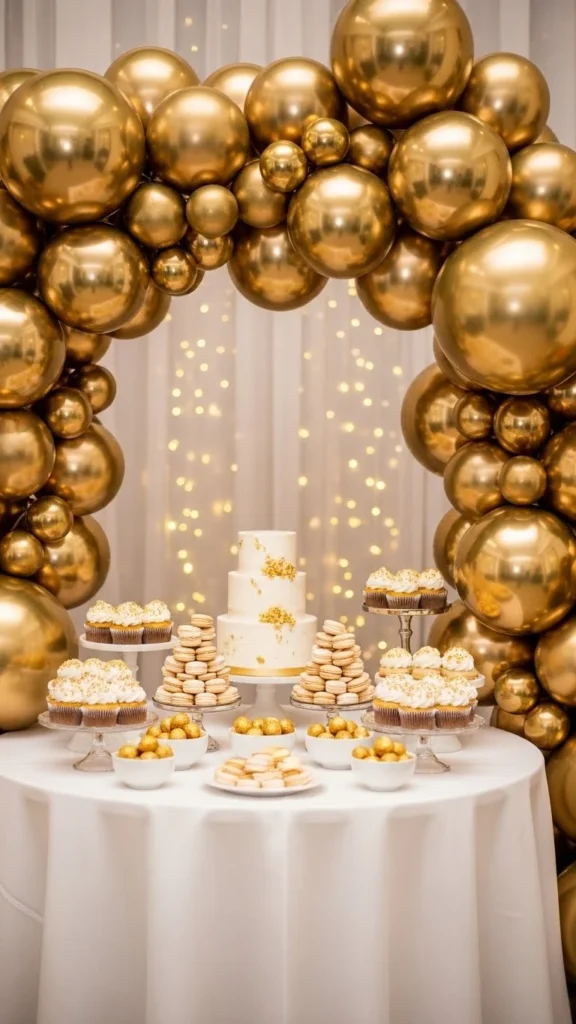
2. Asymmetrical Gold Cascade Arch
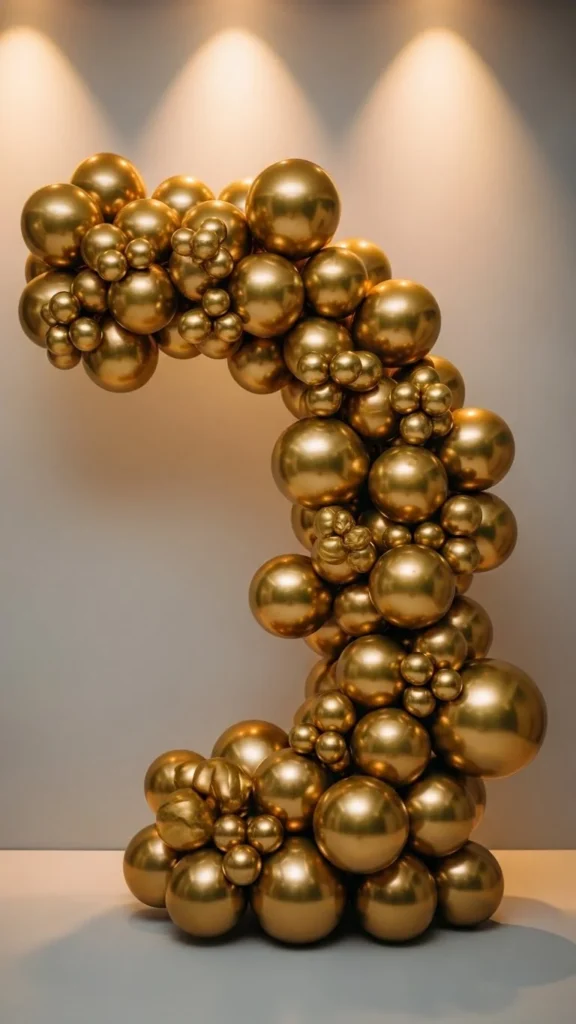
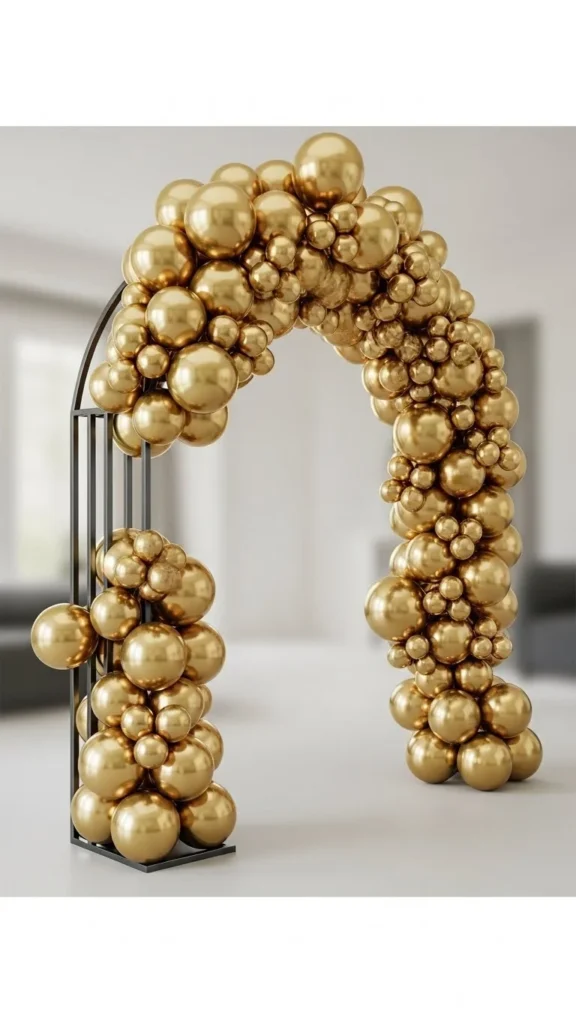
Asymmetrical arches feel modern and bold. They use fewer balloons than full arches but still command attention. Start with one heavy side and let balloons taper down naturally.
Use three balloon sizes only. This keeps the shape clean and avoids visual clutter. Build the heavier side first, then pull balloons outward with fishing line to guide the cascade.
This style works well behind dessert tables or photo corners. You don’t need a full frame. Command hooks and clear line usually do the job.
To save money, reuse balloons from table clusters. Pull them into the cascade area once guests arrive. The look stays dramatic without buying extra packs.
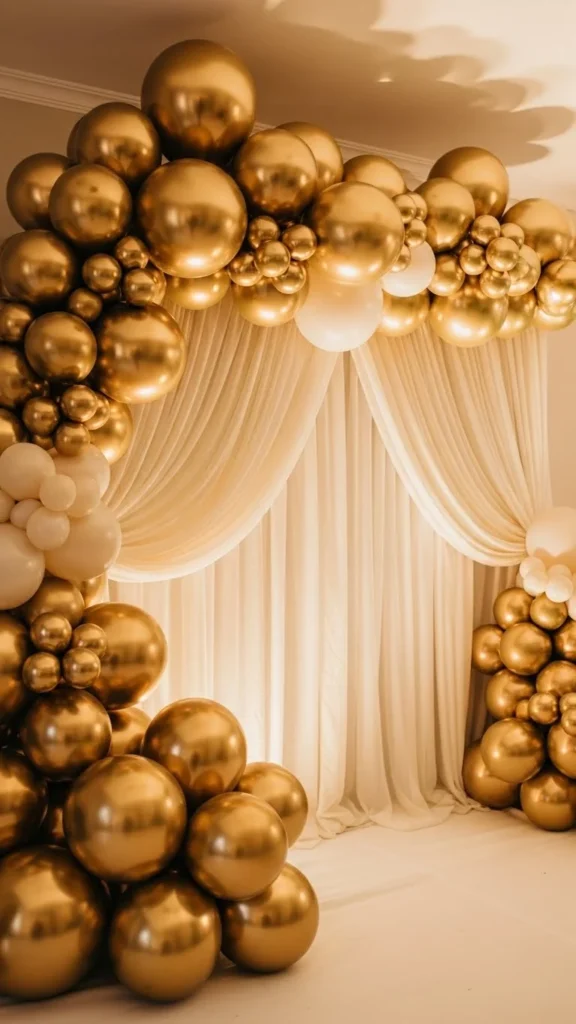
3. Gold and Pearl Luxury Arch
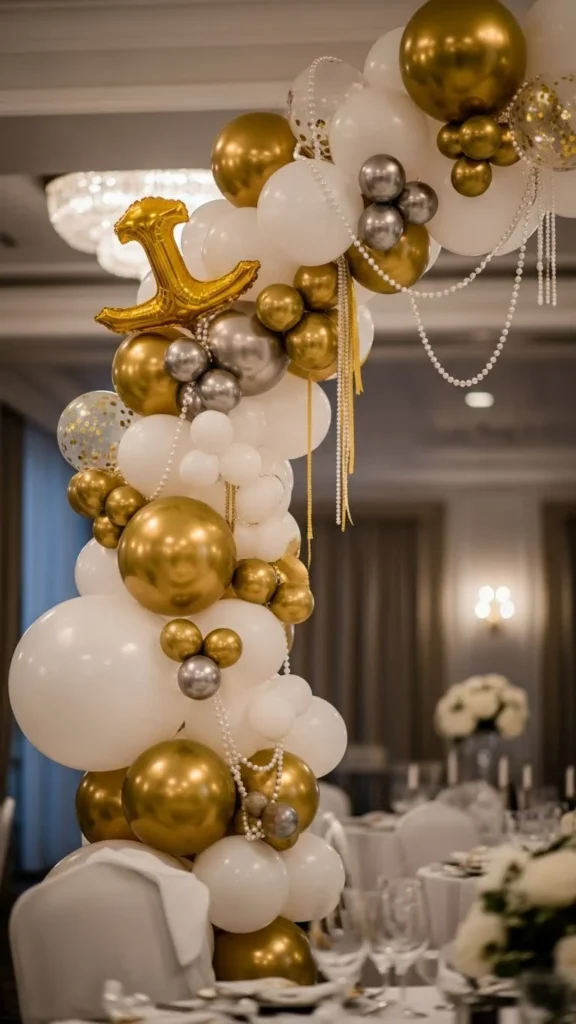
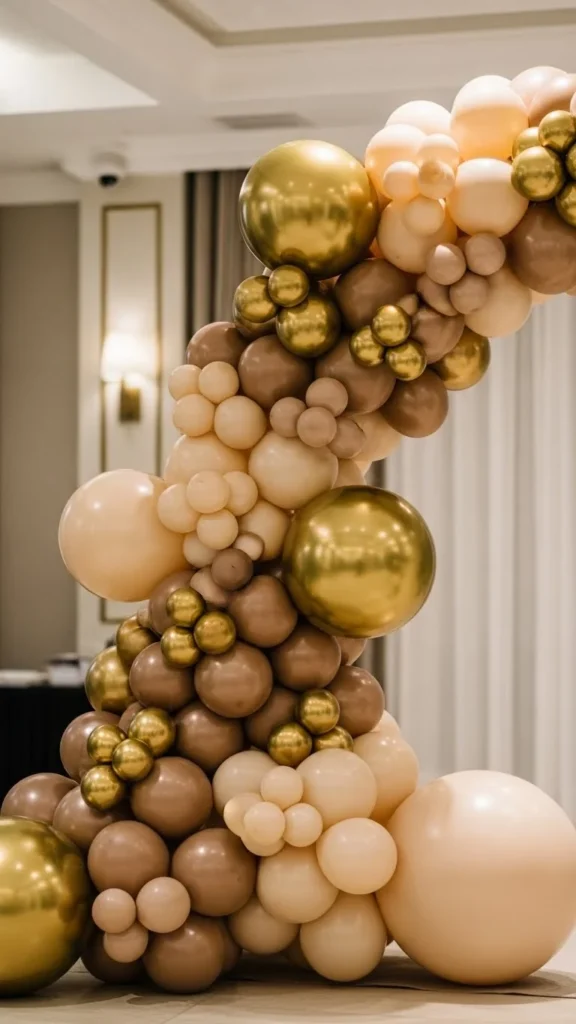
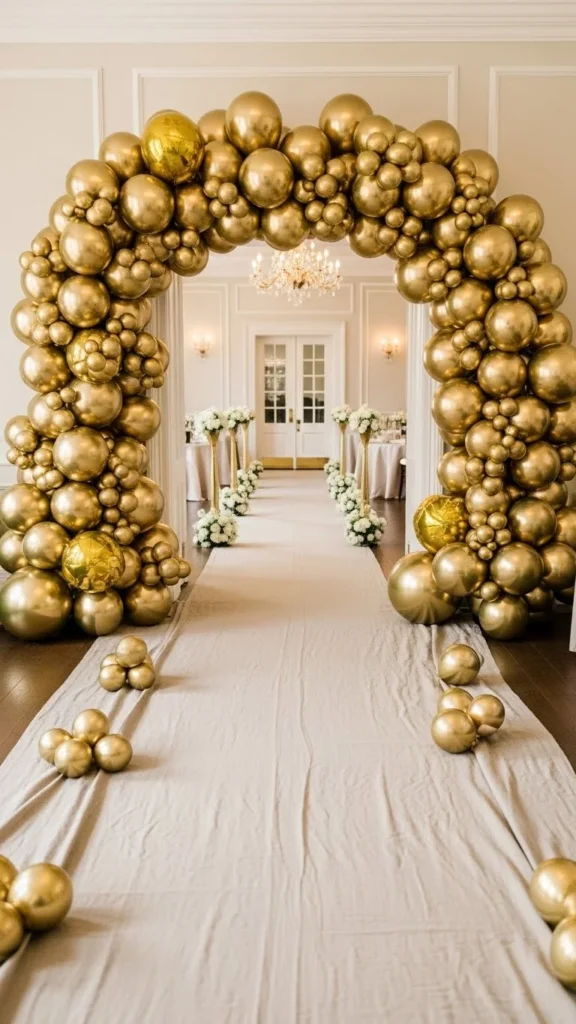
Gold and pearl pair well when you want drama without harsh shine. Use gold as the base and pearl as filler. This balances light reflection and softens photos.
Stick to a 70/30 split. Too much pearl can dull the effect. Keep pearl balloons closer to the inner curve and gold on the outer edge.
This arch suits weddings, milestone birthdays, and formal dinners. DIY builders can save by choosing pearl balloons in standard latex instead of specialty finishes.
Warm lighting enhances the tones. Avoid cool bulbs, which flatten the gold color. Even clamp lights with warm bulbs can make a big difference.
4. Matte Gold Organic Arch
Matte gold arches feel refined and calm while still dramatic. They photograph well in bright spaces where metallic balloons can glare.
Use varying balloon sizes to keep the shape interesting. Matte balloons show texture, so spacing matters. Keep clusters tight.
This option works well for daytime events. It also hides minor setup flaws better than chrome balloons.
For budgets, matte balloons cost less and don’t need heavy lighting. That makes them ideal for home events or outdoor shade setups.
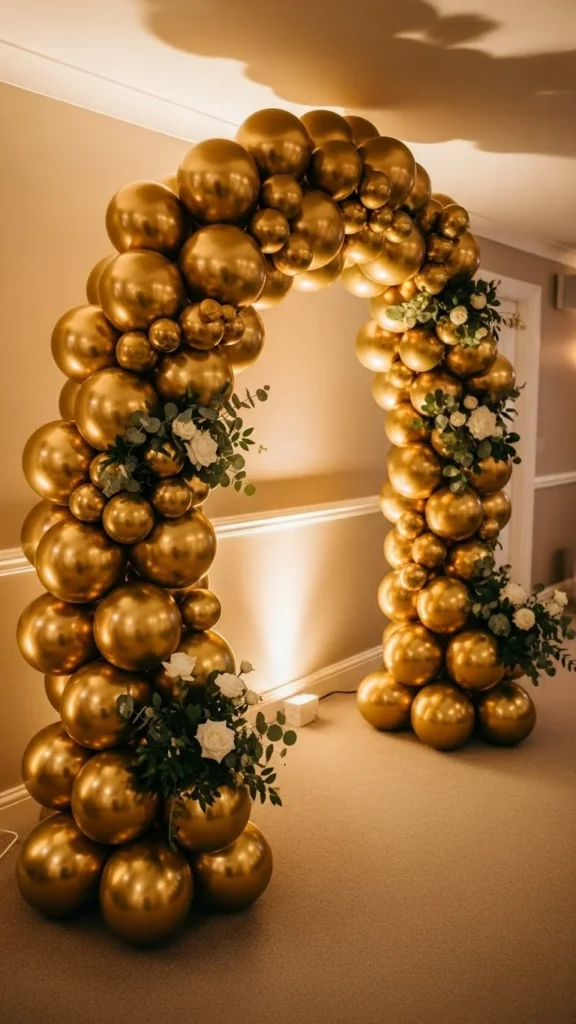
5. Gold Balloon Arch With Greenery
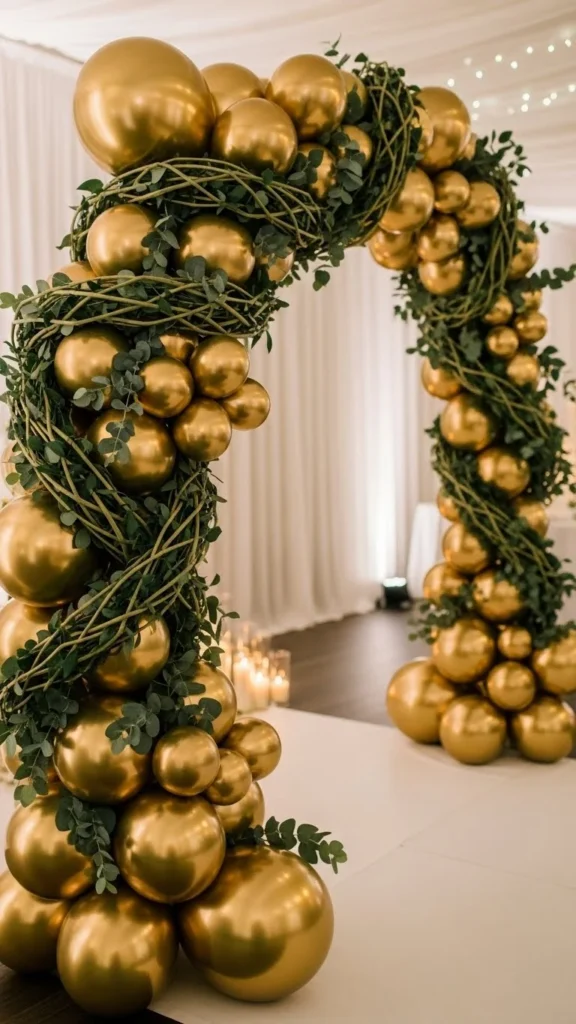
Greenery adds contrast and breaks up heavy gold. Faux eucalyptus works well and stays reusable.
Attach greenery with floral wire or balloon glue dots. Place it in small sections instead of spreading evenly.
This style fits garden parties and neutral venues. The greenery keeps the arch from feeling too formal.
Use fewer balloons and let leaves fill space. This cuts balloon costs and setup time.
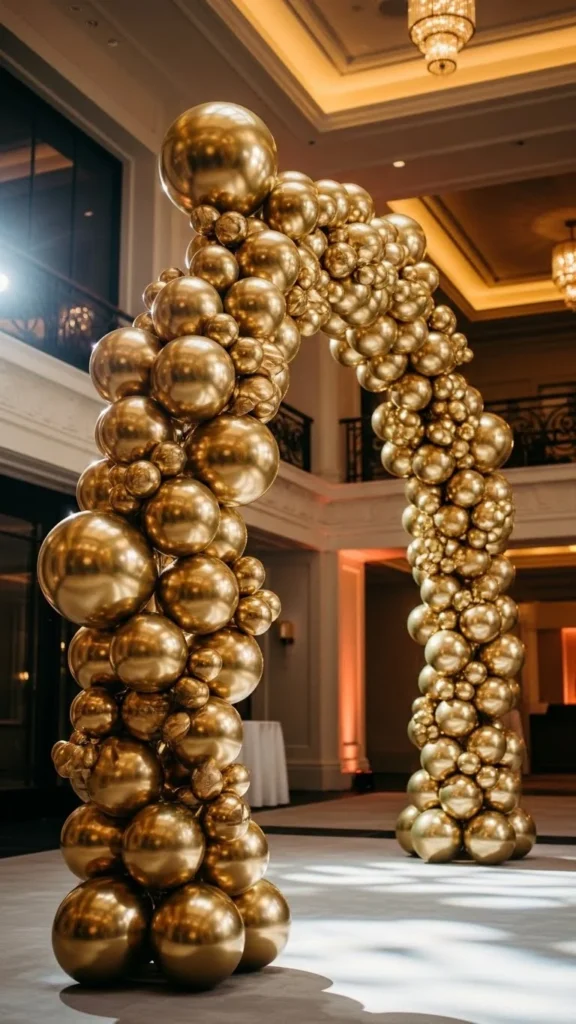
6. Oversized Gold Balloon Frame
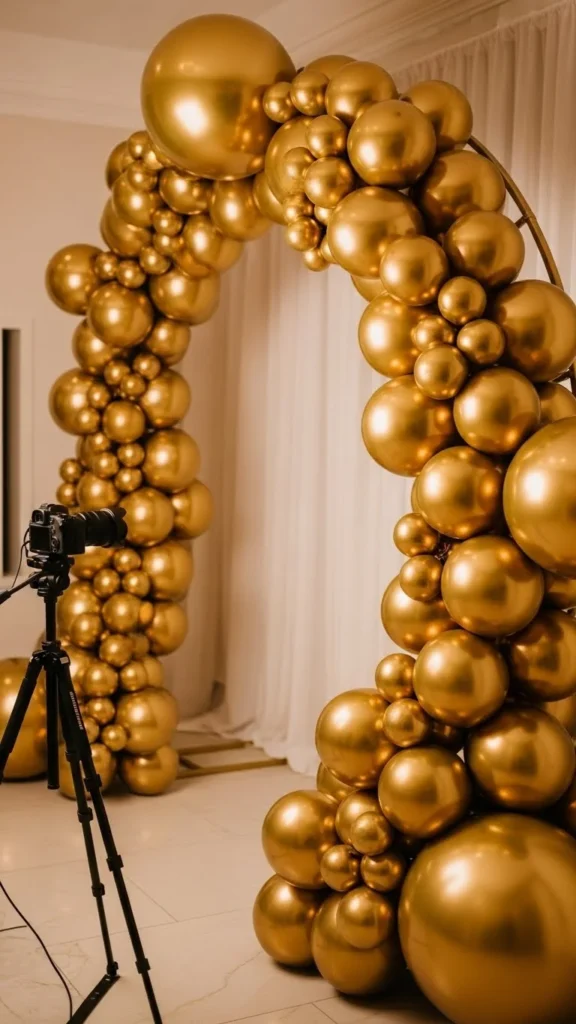
Oversized frames work best for photo areas. The structure stays simple, but size brings drama.
Choose extra-large balloons for the outer edge. Fill gaps with medium sizes only.
Frames reuse well. Break them down after events and store balloons carefully.
This option saves money long term if you host often.
7. Gold Balloon Arch With Soft Lighting
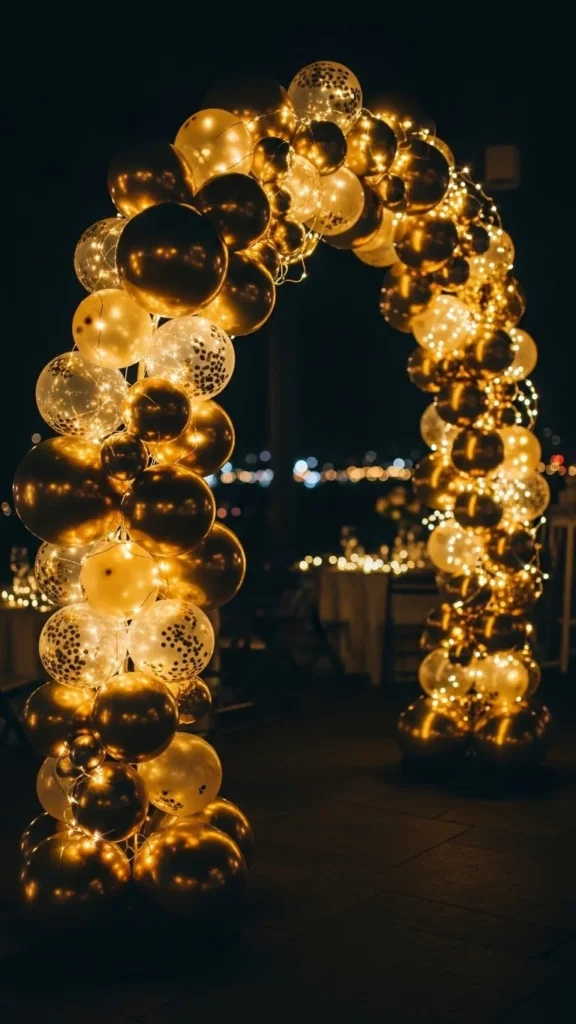
Lighting changes everything. Warm string lights create depth without extra balloons.
Wrap lights loosely. Avoid tight coils that distract from the shape.
Battery packs hide easily behind balloons. This works indoors or outdoors.
Use fewer balloons and let light carry the drama.
8. Gold Balloon Arch Backdrop Wall
Backdrop walls combine arches and clusters. They fill vertical space fast.
Build in sections on balloon tape, then attach to a backdrop stand.
This works well for step-and-repeat photos.
Reuse panels for future events to save costs.
9. Gold and Black Statement Arch
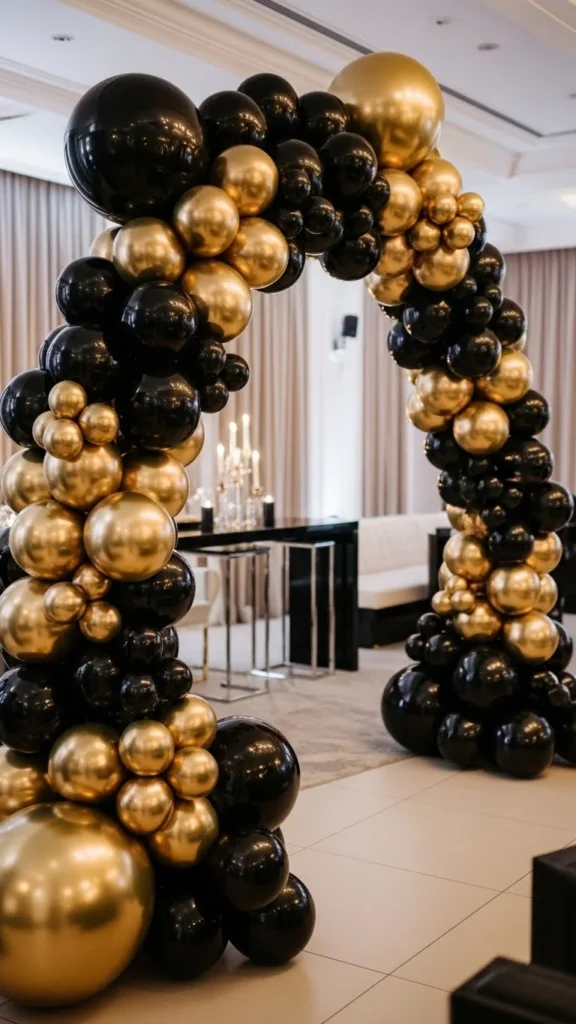
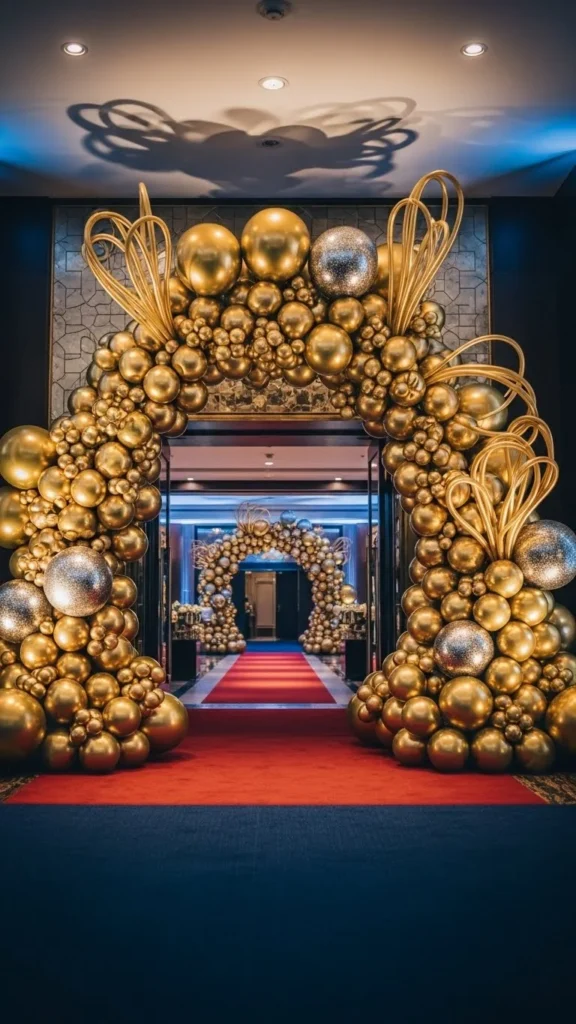
Gold and black create instant drama. Use black sparingly to avoid heaviness.
Place black balloons near the base and gold toward the top.
This style fits milestone birthdays and evening events.
Latex black balloons cost less, balancing the budget.
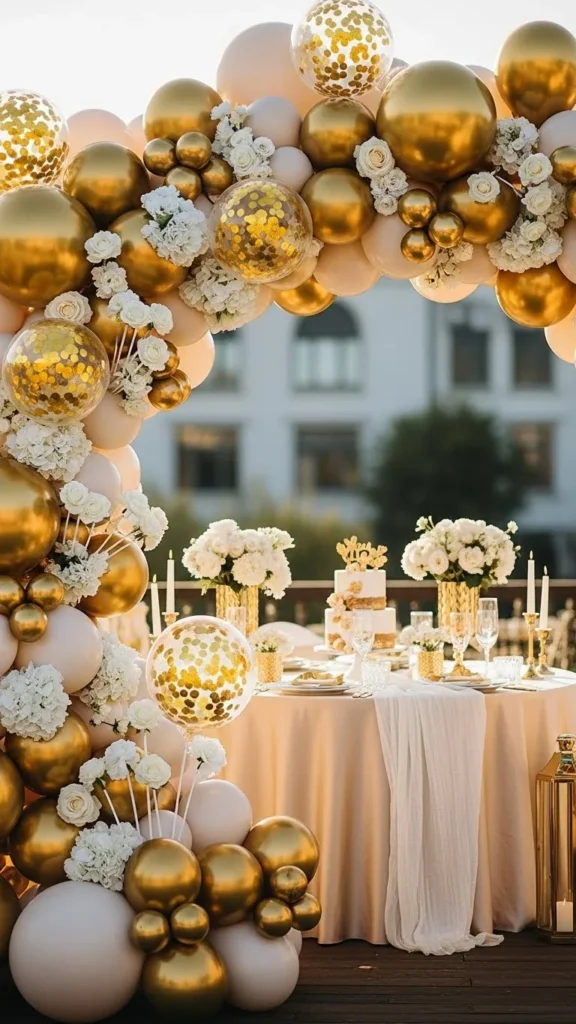
10. Gold Balloon Arch With Clear Orbs
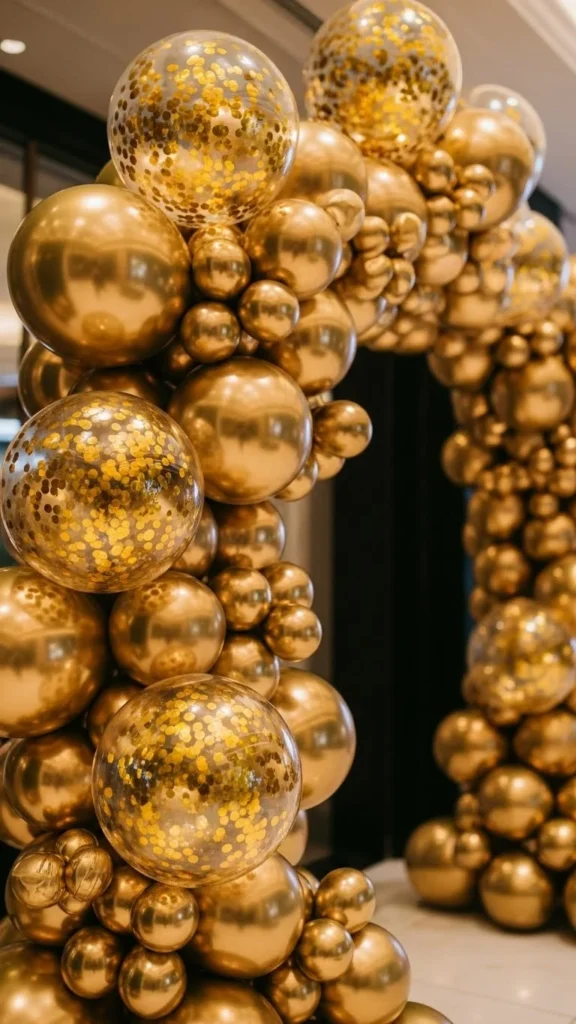
Clear balloons break visual density. Add them near focal points.
Fill orbs with nothing or tiny gold confetti for subtle shine.
This keeps the arch light and airy.
Great for indoor venues with limited space.
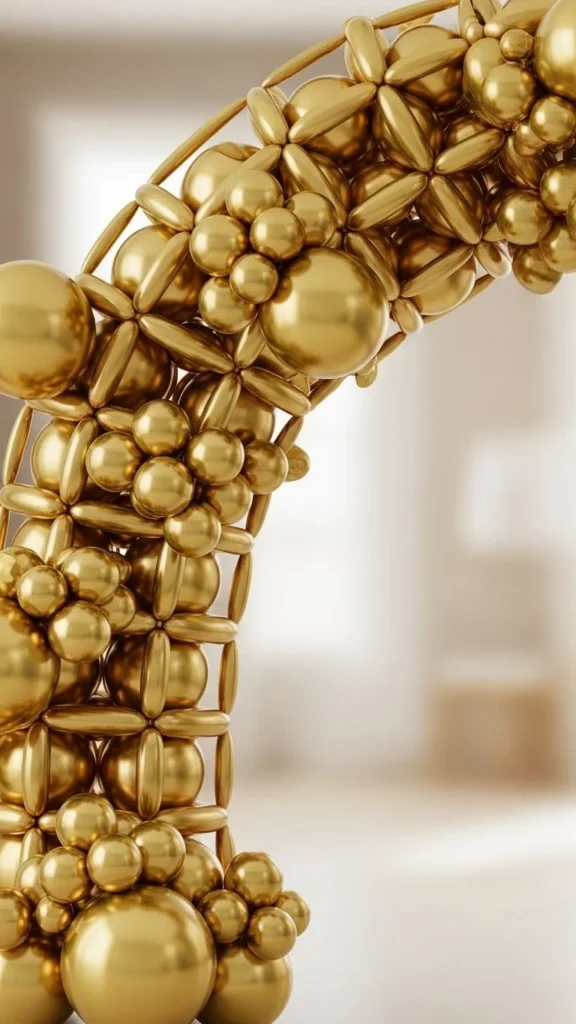
11. Gold Spiral Arch
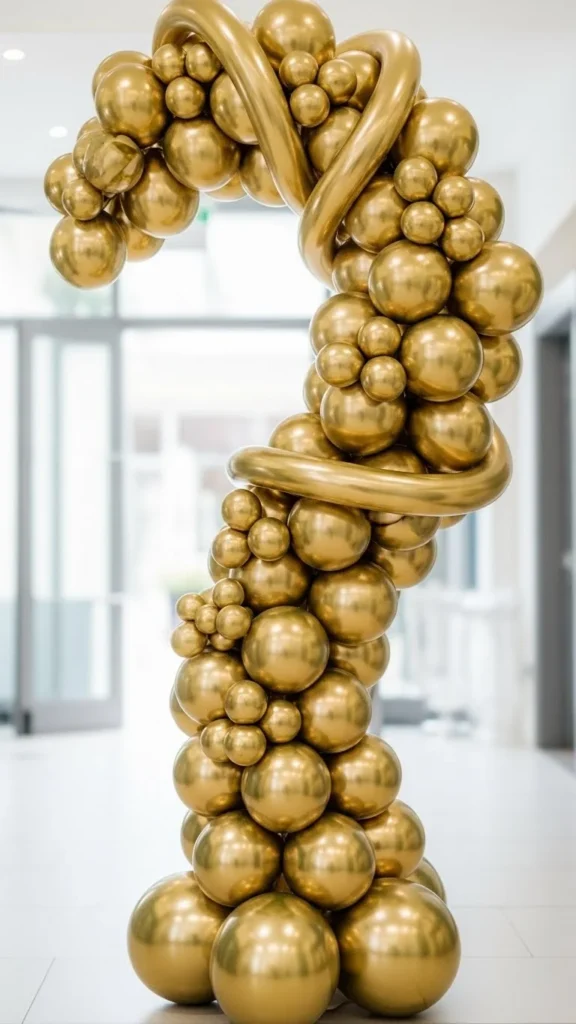
Spiral arches guide the eye upward. Use alternating balloon sizes.
Build around a pole or arch frame for structure.
This uses fewer balloons than organic builds.
Perfect for narrow spaces.
12. Gold Balloon Arch With Floor Clusters
Floor clusters extend the arch visually. They add width without more framing.
Match balloon sizes for consistency.
Clusters double as decor in other areas later.
Smart reuse cuts costs.
13. Gold Balloon Arch for Dessert Tables
Smaller arches still feel dramatic when placed correctly.
Keep the curve tight and centered.
This works well for home parties.
Less space means fewer balloons.
14. Gold Balloon Arch With Soft Draping
Fabric softens bold gold. Use sheer neutral cloth.
Attach fabric behind balloons, not over them.
This adds texture without clutter.
Fabric is reusable for future events.
15. Gold Balloon Arch With Ceiling Extension
Ceiling extensions add height drama.
Use clear line to pull balloons upward.
This works well in tall rooms.
No extra frames needed.
16. Gold Balloon Arch With Mini Balloons
Mini balloons fill gaps and add detail.
They cost little but add polish.
Use them near curves.
Avoid overuse to keep it clean.
17. Gold Balloon Arch With Neutral Accents
Neutral accents calm heavy gold.
Use beige or nude tones sparingly.
This suits minimalist spaces.
Latex neutrals are affordable.
18. Gold Balloon Arch With Mirror Backdrop
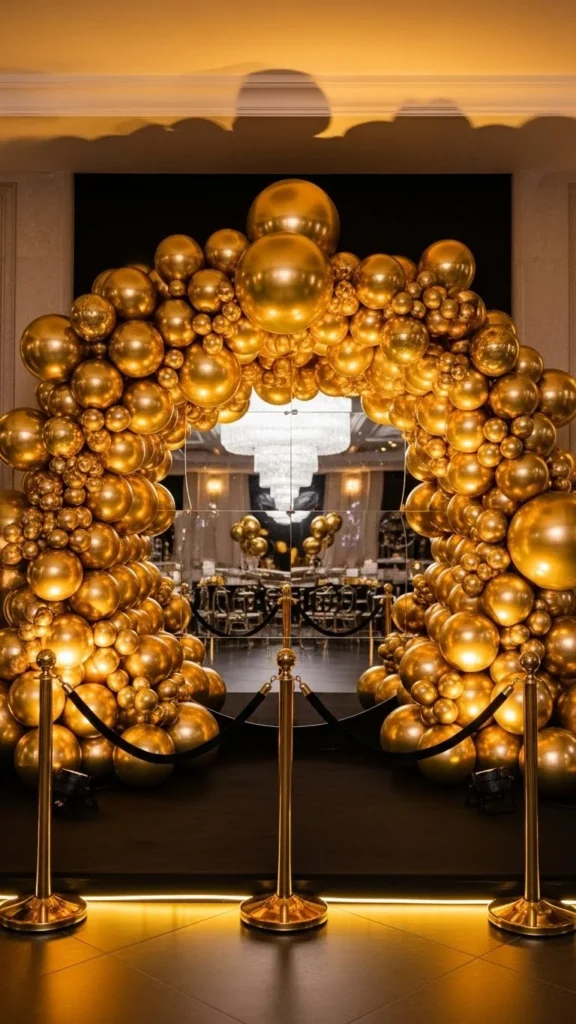
Mirrors double visual impact.
Place balloons slightly forward to avoid reflections of tape.
This setup looks larger than it is.
Great for small venues.
19. Gold Balloon Arch With Floral Picks
Floral picks add softness.
Use faux stems for reuse.
Insert lightly between clusters.
Avoid heavy bunches.
20. Gold Balloon Arch With Minimal Curve
Minimal curves feel modern.
Use larger balloons only.
This reduces setup time.
Strong impact with fewer pieces.
21. Gold Balloon Arch With Side Frame
Side frames support asymmetrical designs.
They hide behind balloons easily.
Frames rent cheaply.
Reusable for many themes.
22. Gold Balloon Arch With Layered Heights
Layered heights add depth.
Build in sections.
Adjust height by pulling clusters.
No extra balloons required.
23. Gold Balloon Arch With Neutral Floor Runner
Floor runners guide guests.
They frame the arch naturally.
Fabric options cost little.
Reusable across events.
24. Gold Balloon Arch With Compact Footprint
Small spaces still allow drama.
Keep curves tight.
Focus on shine.
Less space means fewer supplies.
25. Gold Balloon Arch With Mixed Finishes

Mixing finishes adds texture.
Stick to one color family.
Avoid adding other colors.
This keeps it cohesive.
26. Gold Balloon Arch With Side Entry
Side entries still matter.
A partial arch works well.
Attach to walls or rails.
Lower cost, strong impact.
27. Gold Balloon Arch With Photo Sign Stand
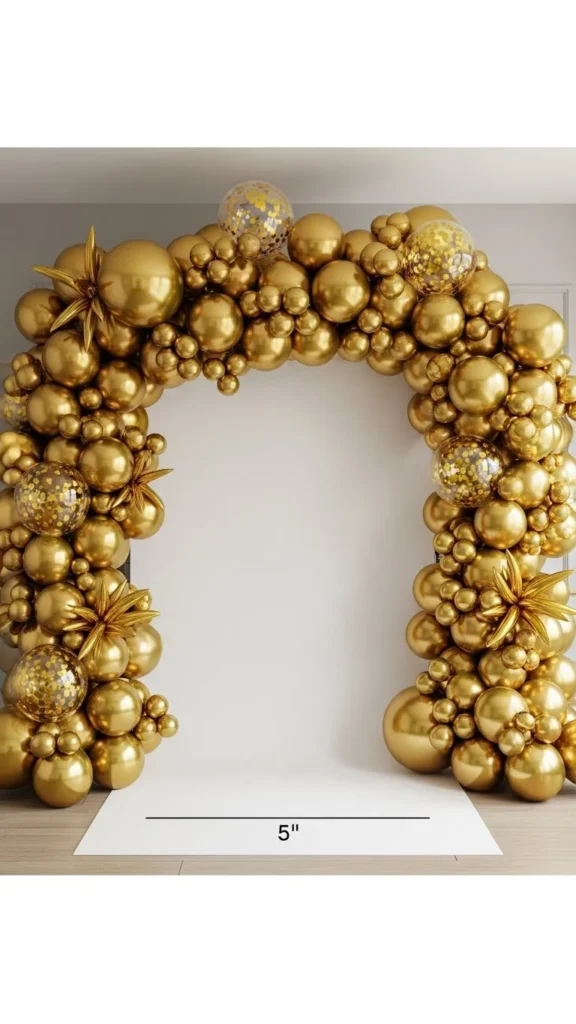
Photo stands anchor arches.
Keep signage minimal.
Balloon focus stays strong.
Stands rent cheaply.
28. Gold Balloon Arch With Reusable Panels
Panels save time.
Build once, reuse often.
Store flat between events.
Ideal for frequent hosts.
Conclusion
Extravagant gold balloon arches create drama through scale, texture, and placement—not overspending. With smart sizing, mixed finishes, and simple tools, anyone can build a show-stopping setup at home or in a venue. Save these ideas, mix styles, and reuse pieces to make each event feel bold and unforgettable.

Leave a Reply