

When it comes to making your kitchen a space that reflects your personality, there’s one simple and fun way to do it: kitchen chalk signs! These charming, customizable pieces of decor bring warmth and a personal touch to any kitchen, whether you’re using them to label ingredients, create inspirational quotes, or mark your grocery list. Plus, they add a dash of creativity without breaking the bank.
In this guide, we’ll walk you through easy steps to create your own kitchen chalk signs for a personalized touch. Whether you’re a seasoned crafter or a complete beginner, you’ll find everything you need to get started.
Materials You’ll Need
Before diving into the project, let’s gather the essential materials. Don’t worry, most of these can be found around your home or at a local craft store:
- Chalkboard or chalkboard paint – You can buy pre-made chalkboard signs or make your own using chalkboard paint on a wooden board or canvas.
- Chalk markers or chalk – Chalk markers give a more vibrant look, while traditional chalk provides a rustic feel.
- Painter’s tape – This helps create straight lines or borders for your design.
- Ruler – For precise measurements and straight lines.
- Stencils (optional) – If you want to create a clean, uniform design.
Step 1: Choose Your Sign Design
Decide on the purpose of your chalk sign. Is it going to be a menu board, a grocery list, or a motivational quote? Whatever you choose, think about the size and placement of the sign in your kitchen. You might want to use smaller signs for specific areas (like near the fridge) or a larger statement piece to hang on the wall.
Some popular ideas for kitchen chalk signs include:
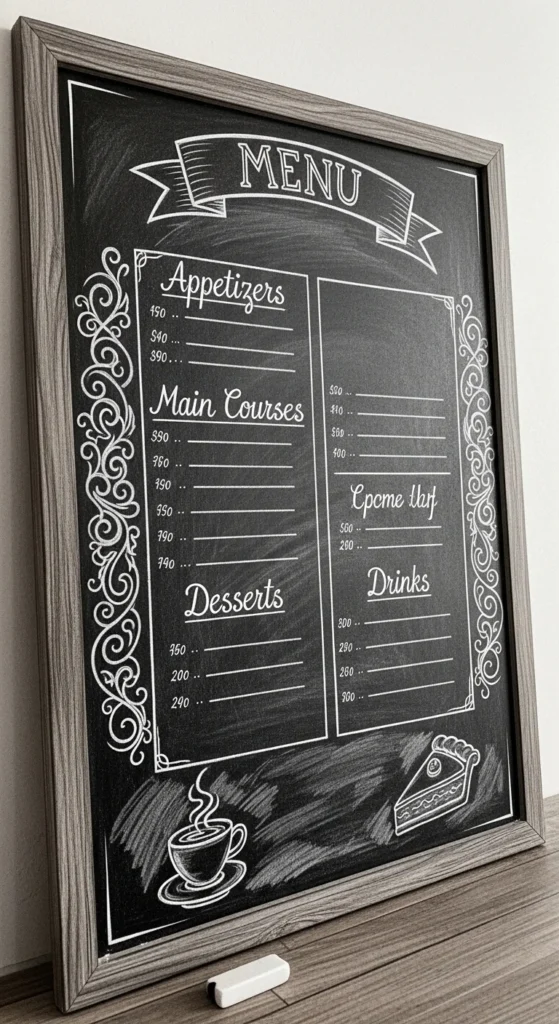
- “Today’s Specials” – Perfect for the fridge or near the stove.
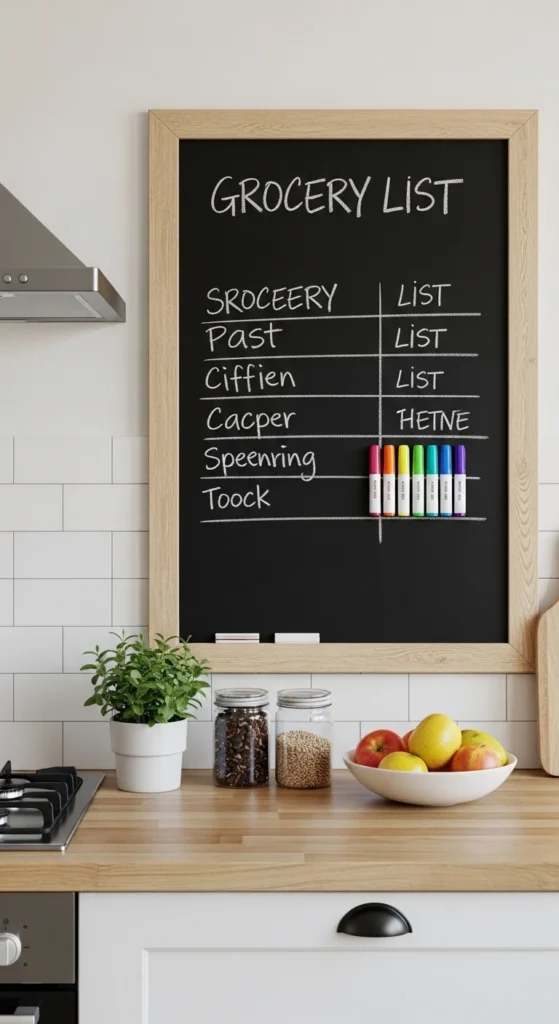
- Grocery List – A helpful chalkboard where you can jot down items as they come to mind.
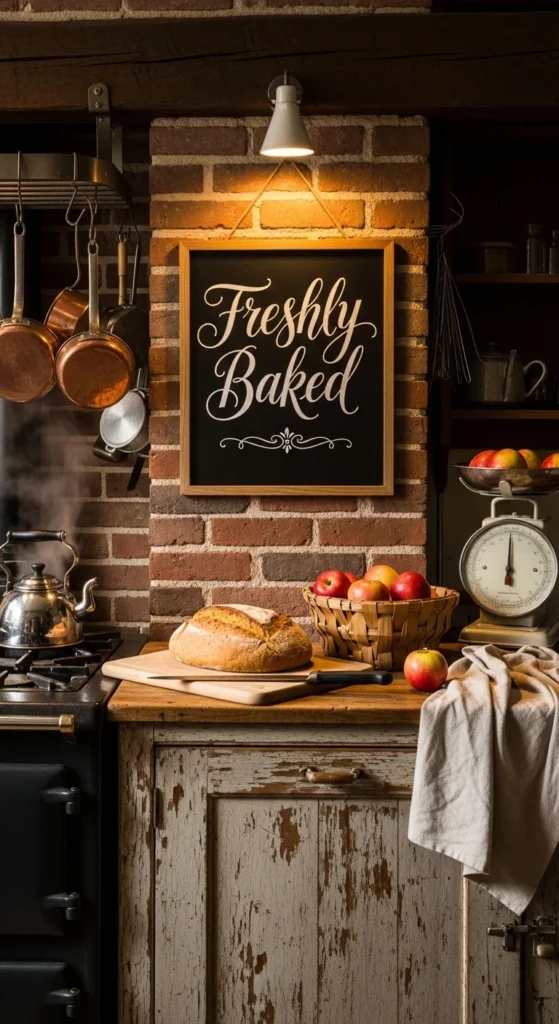
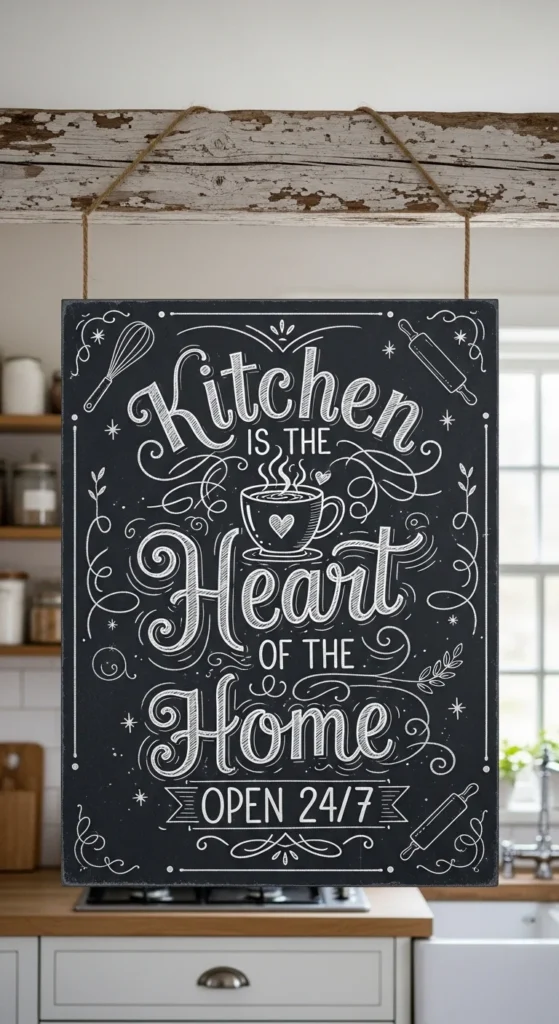
- Inspirational Quotes – Use simple, positive phrases like “Live, Love, Eat” or “Freshly Baked Happiness.”
Step 2: Prepare Your Surface
If you’re using a pre-made chalkboard sign, you can skip this step. However, if you want to create your own custom sign, you’ll need to prepare the surface first.
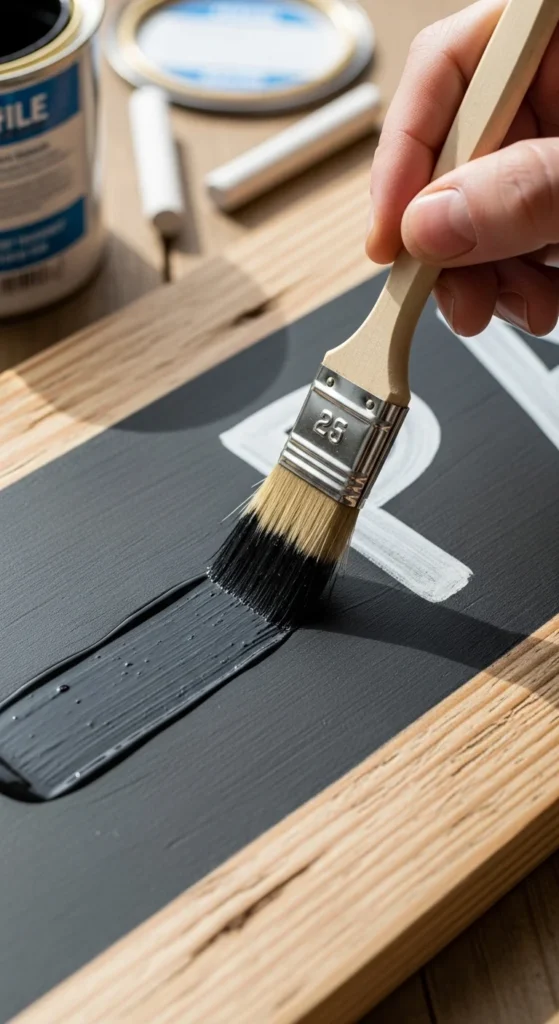
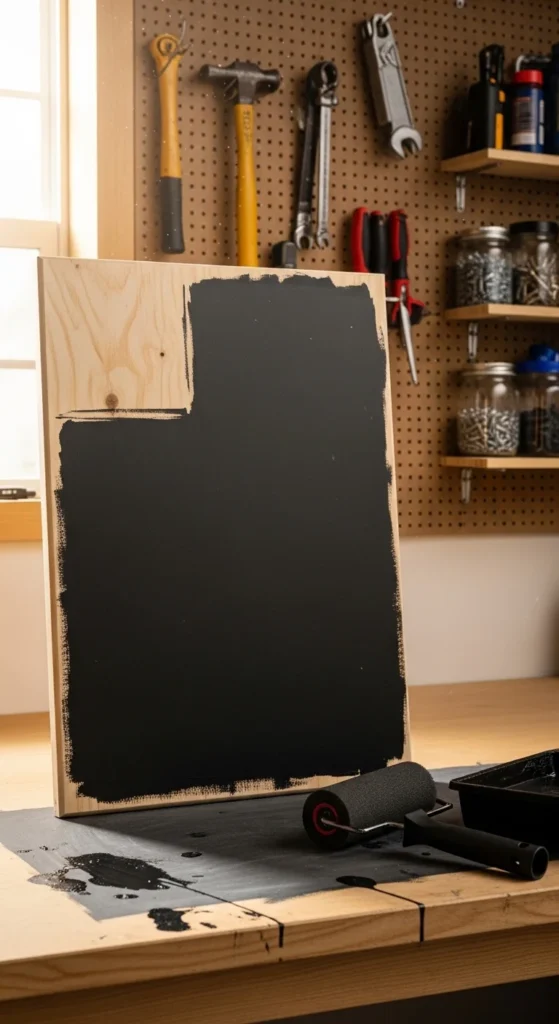
- Option 1: Chalkboard Paint – Use a wooden board or canvas and apply a layer of chalkboard paint. Allow the paint to dry fully, following the instructions on the can. You may need multiple coats for a smooth surface.
- Option 2: Pre-made Chalkboard – Purchase a ready-made chalkboard from a craft store or even a dollar store, and you’re ready to go!
Step 3: Plan Your Design
Now that your surface is ready, it’s time to sketch out your design. Lightly draw your design with a pencil before going over it with chalk or chalk markers. This will help guide your hand and ensure the layout is balanced.
- Tip: Use a ruler to draw straight lines if you want a neat design, or add decorative borders with painter’s tape for a fun, bold look.
- Tip: If you’re using stencils, place them on the surface and trace the shapes with your chalk or chalk marker.
Step 4: Add Your Lettering
Now comes the fun part—lettering!
- If you’re comfortable freehanding, use chalk or chalk markers to carefully write your phrase or list. For clean lines, make sure the chalk is sharp or the marker tip is fresh.
- If you’re using stencils, simply trace over the stencil with your chalk marker. Don’t forget to press lightly so you can clean it up later.

Step 5: Final Touches
Once you’re happy with the design, let the ink dry if you used markers. You can also erase any pencil lines for a clean finish. If your sign is intended for use in a high-traffic area (like the kitchen or dining area), consider sealing it with a matte sealer to prevent smudging, especially if you’re using chalk markers.
If you plan to change your design often, opt for a removable sealer to allow for easy updates.
Step 6: Hang and Display Your Chalk Sign
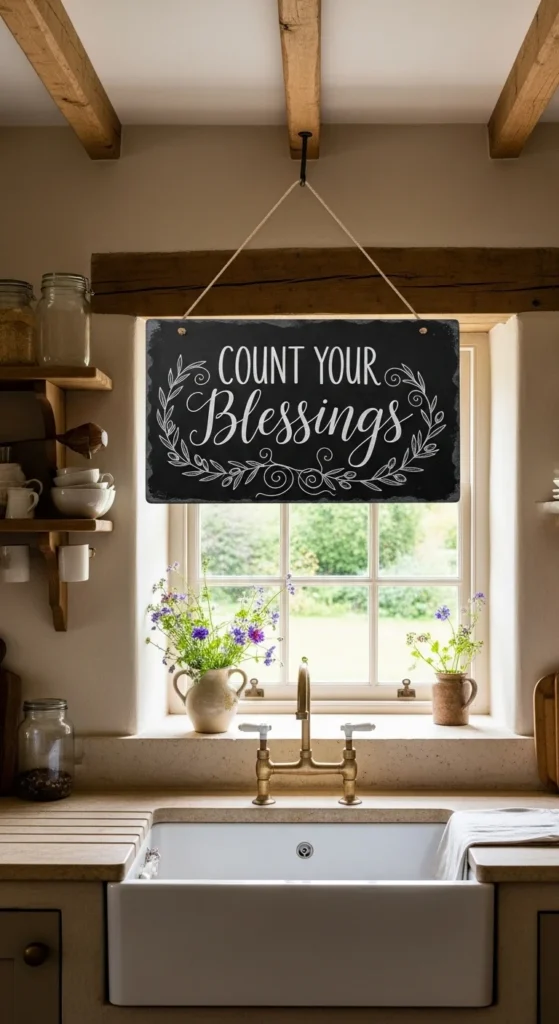
Finally, hang your chalk sign in a spot that brings personality to your kitchen. Whether it’s near the fridge, above the sink, or as a centerpiece on the wall, these chalk signs are a fun and customizable way to add flair.
Conclusion: Get Creative with Your Chalk Signs
Kitchen chalk signs are a simple and inexpensive way to express your personal style while adding functionality to your kitchen. With just a few supplies and a little creativity, you can transform any space with a custom sign that fits your vibe. Whether you’re labeling ingredients or sharing inspirational quotes, a chalkboard is the perfect canvas for your kitchen decor.
Save this DIY project for later, and let your kitchen reflect your unique personality!

Leave a Reply