

There’s something truly magical about turning a simple sheet of paper into a blooming flower that never fades. Whether you’re decorating your room, planning a DIY party setup, or just looking for a relaxing creative hobby, paper flowers are the perfect craft. They’re affordable, beginner-friendly, and surprisingly realistic when done right. Plus, you don’t need any fancy tools—just a bit of patience and creativity.
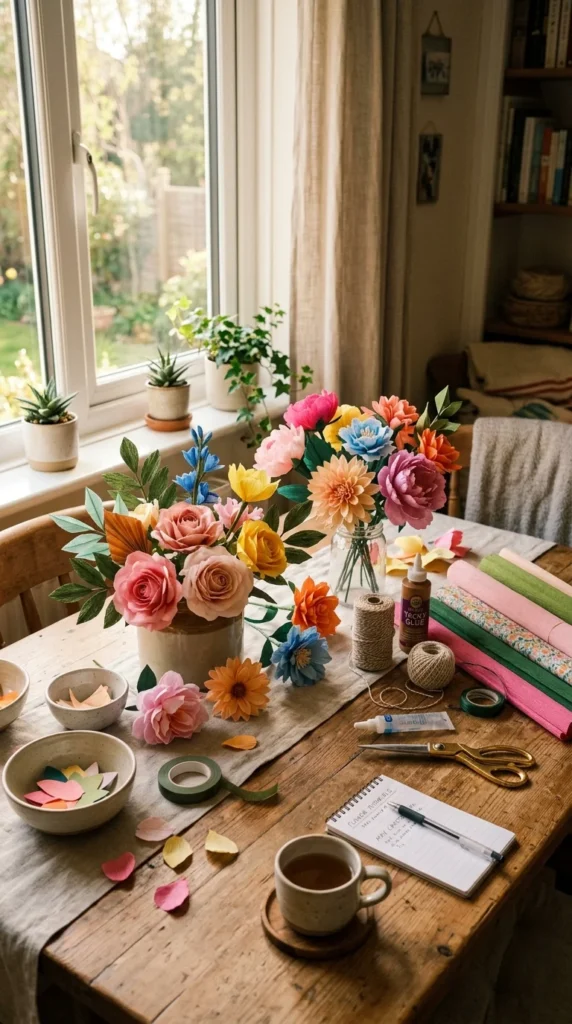
In this guide, you’ll learn how to make stunning paper flowers step by step, along with creative ideas to use them in beautiful handmade decor.
Why Paper Flowers Are So Popular
Paper flowers have become a favorite DIY trend for a reason. They’re timeless, customizable, and perfect for any occasion. Unlike real flowers, they don’t wilt, making them ideal for long-lasting decorations.
Here’s why people love them:
- Budget-friendly and easy to make at home
- Perfect for weddings, birthdays, and home decor
- Fully customizable in color, size, and style
- A relaxing craft that reduces stress and boosts creativity
From minimalist modern designs to bold floral arrangements, paper flowers fit every aesthetic.
Materials You’ll Need
Before you begin, gather your simple crafting supplies. Most of these are already available at home or easy to find in any stationery shop.
- Colored craft paper or tissue paper
- Scissors
- Glue stick or hot glue
- Floral wire or wooden sticks (for stems)
- Pencil and ruler (for shaping petals)
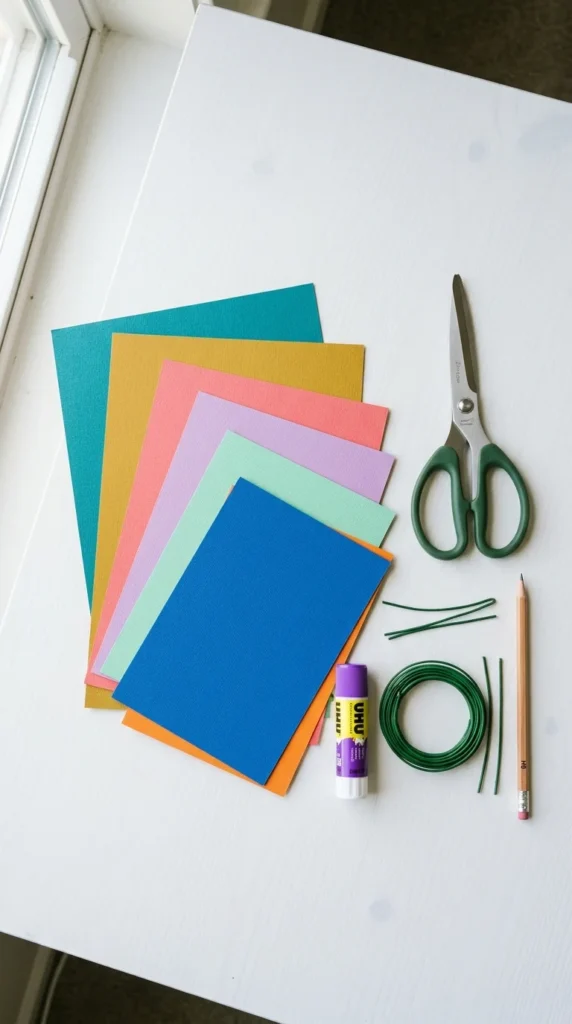
Once you have everything ready, you’re all set to start creating your first paper bloom.
Step-by-Step: Making a Simple Paper Flower
Let’s start with a basic layered paper flower that looks beautiful and is perfect for beginners.
Step 1: Cut the Petals
Draw petal shapes on colored paper and carefully cut them out. You’ll need multiple sizes for a natural layered effect.
Step 2: Shape the Petals
Gently curl the edges of each petal using a pencil or your fingers. This adds a realistic, soft look.
Step 3: Build the Flower
Start with the smallest petals in the center and gradually layer larger ones around it. Glue each layer carefully.
Step 4: Add the Stem
Attach floral wire or a stick to the back of your flower using glue or tape.
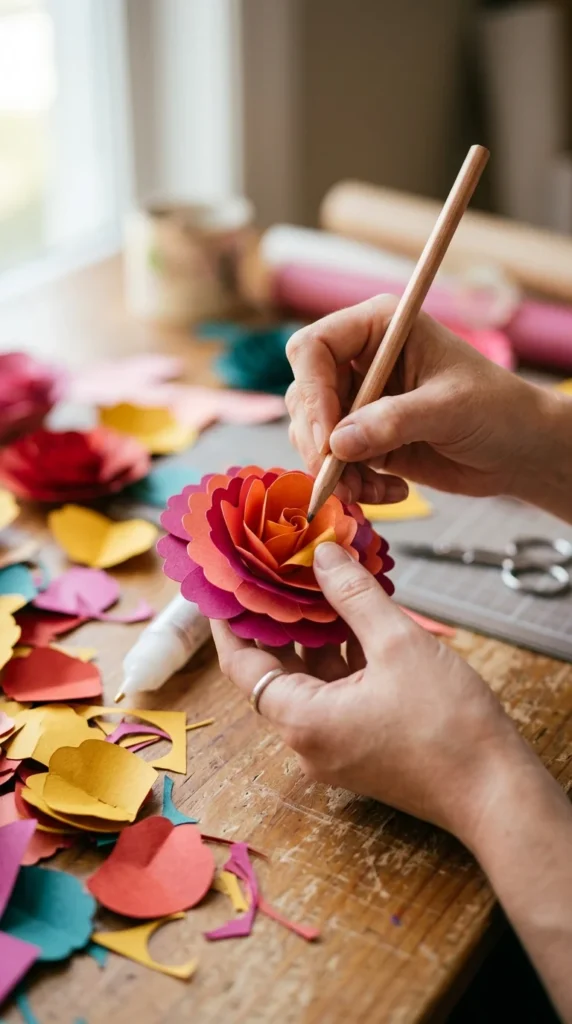
Take your time with each layer—the more detailed your petals, the more realistic your flower will look.
Creative Paper Flower Styles to Try
Once you master the basic flower, you can experiment with different styles and designs. Paper flowers are incredibly flexible, so don’t be afraid to get creative.
Try these ideas:
- Roses: Use spiral-cut paper strips and roll them tightly
- Daisies: Simple round petals with a bright center
- Peonies: Multiple fluffy layers for a full, soft look
- Lotus flowers: Folded symmetrical petals for a calming design
Mix different shapes and colors to create your own unique bouquet.
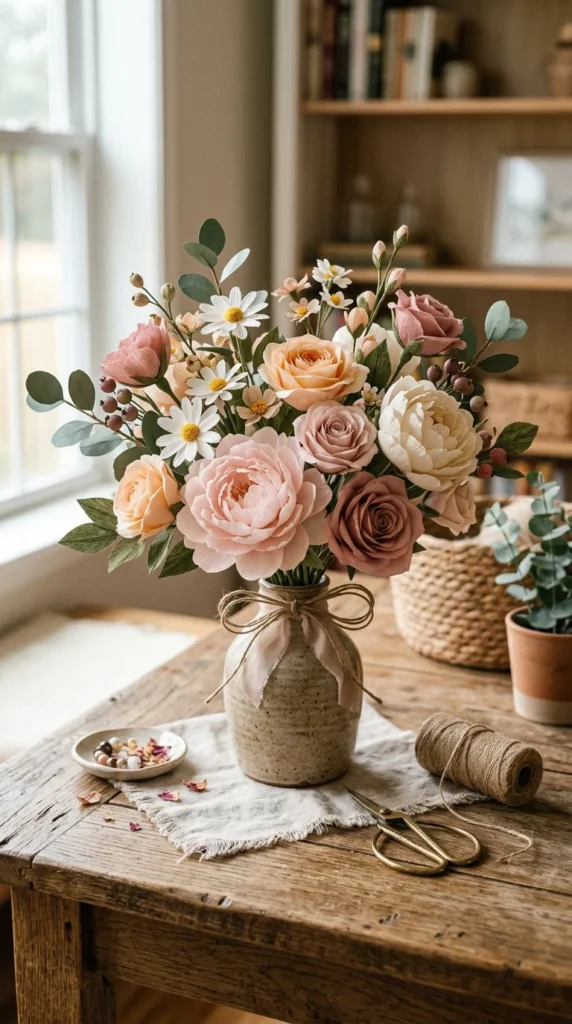
Beautiful Ways to Decorate with Paper Flowers
Now comes the fun part—using your handmade flowers in decor! Paper flowers can completely transform a space with very little effort.
Here are some creative ideas:
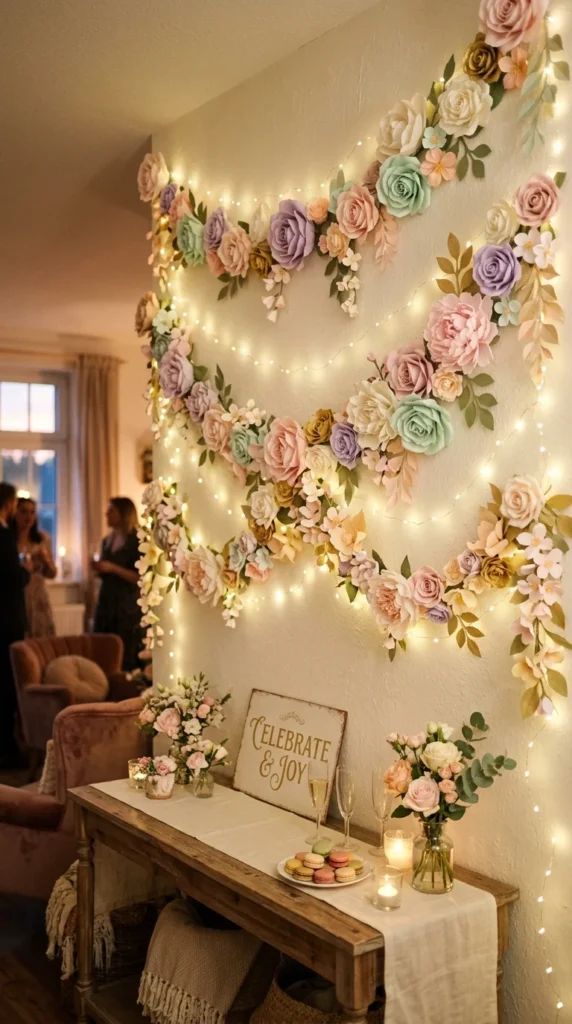
- Wall backdrops for parties or photo corners
- Table centerpieces for special events
- Hanging garlands for bedrooms or celebrations
- Gift toppers for a personalized touch
- Home wall art arranged in frames or shadow boxes
You can also mix paper flowers with fairy lights or greenery for a dreamy aesthetic look.
Final Thoughts
Making paper flowers is more than just a craft—it’s a relaxing, creative experience that lets you design beauty from something simple. Once you learn the basics, you can experiment endlessly with colors, shapes, and arrangements to match any mood or occasion.
So grab your paper, get comfortable, and start crafting your own floral masterpiece. Each flower you make adds a personal, handmade touch that no store-bought decoration can replace.
Save this idea for your next DIY project—and let your creativity bloom!

Leave a Reply