


Clover door hangers are a simple way to bring cheerful charm to your entryway. They work for seasonal decor, party accents, or everyday styling. This list focuses on creative, low-cost ideas you can make, buy, or customize without stress. Each style below shares practical tips, easy materials, and small details that make a door hanger feel special. Whether you enjoy crafting or prefer quick updates, these ideas help you create a welcoming look that feels personal and fun.
1. Classic Wooden Four-Leaf Clover
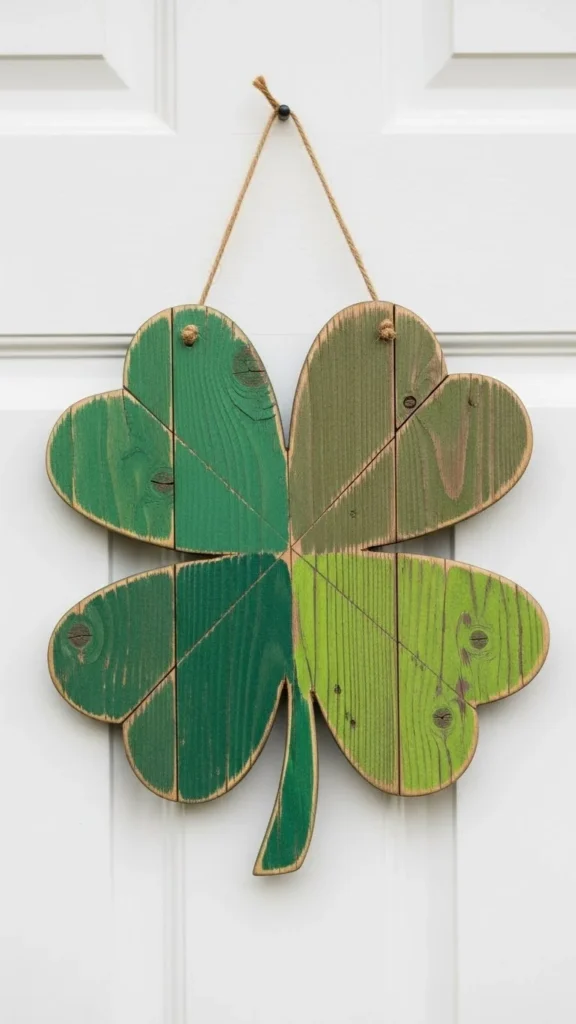
A classic wooden clover works in almost any setting. You can cut one from thin plywood or buy a pre-cut blank. Paint it using two or three green tones for depth. Light sanding along the edges gives a relaxed, worn look. Keep the hanger simple with twine or jute rope.
For a budget option, use leftover paint samples. Small foam rollers help avoid streaks. If you want extra detail, glue a tiny wooden heart at the center. This style fits farmhouse, cottage, or casual homes. Store it flat after the season to reuse year after year.
2. Layered Felt Clover Hanger
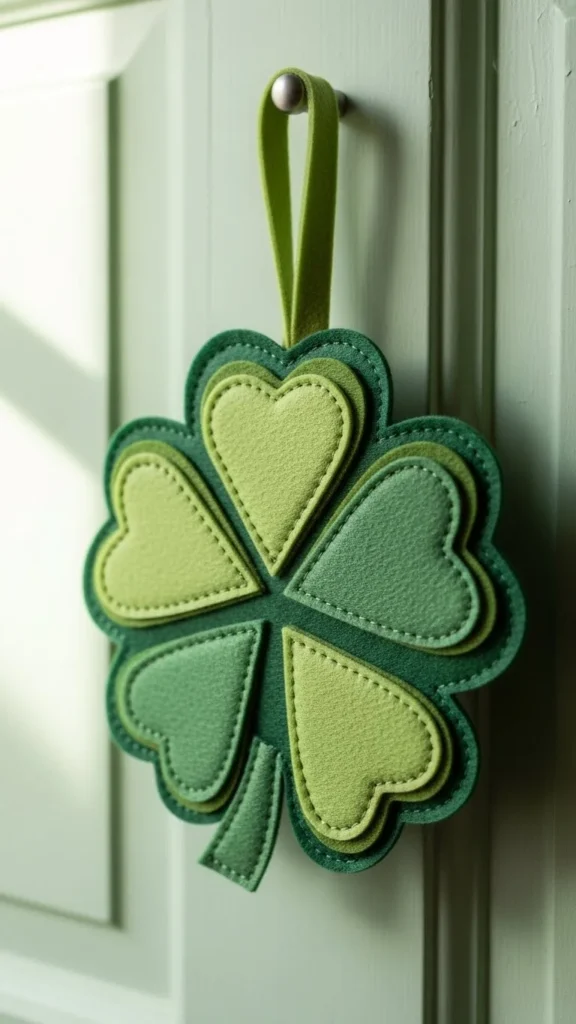
Felt is affordable and easy to shape. Cut four heart shapes and layer them around a small center circle. Hand stitching adds charm without tools. Choose two shades of green for contrast.
This option works well for apartments since it stays lightweight. Use a simple ribbon loop for hanging. If sewing is not your thing, fabric glue works just fine. Felt hangers also store well without cracking or chipping.
3. Burlap Clover with Button Center
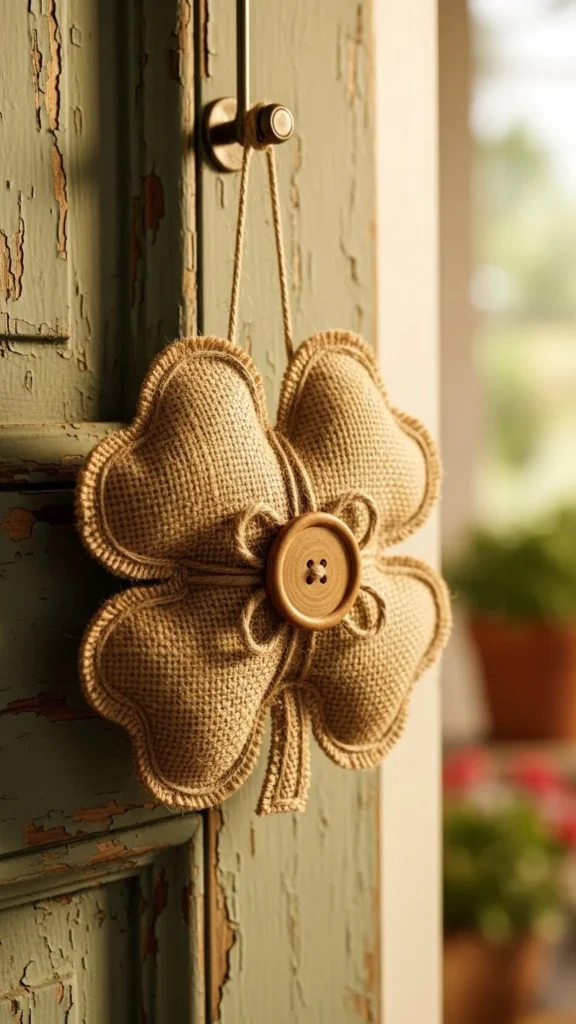
Burlap brings texture and warmth. Cut the clover shape using sharp scissors. Frayed edges add style, not mess. A large wooden button in the center pulls the look together.
Hot glue keeps everything secure. Pair with a neutral ribbon for hanging. This idea suits rustic porches and neutral color schemes. Burlap sheets are inexpensive and often sold in craft bundles.
4. Metal Wire Clover Outline
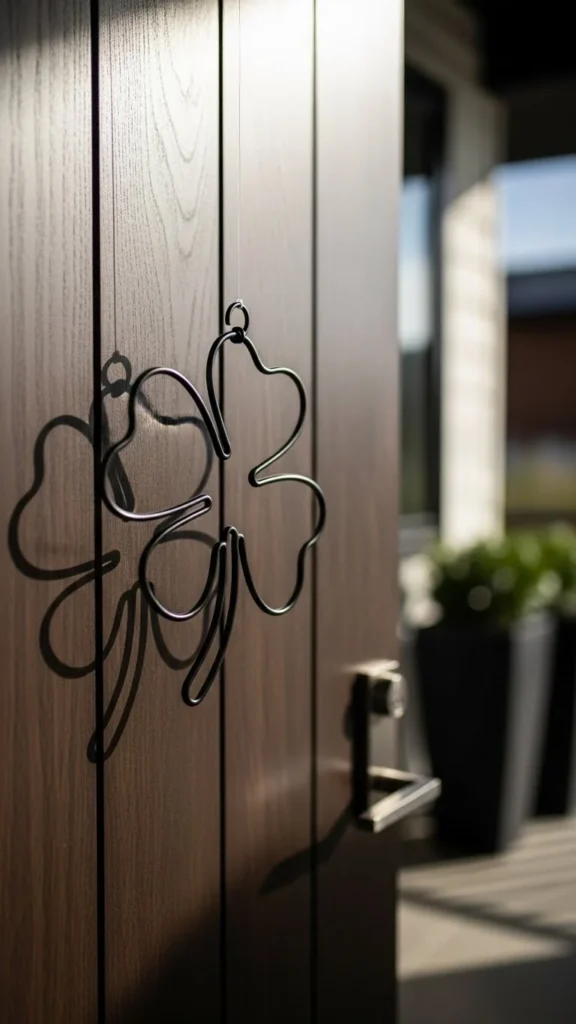
Wire clovers feel light and modern. Bend craft wire into four loops and twist at the center. Spray paint it green or leave it natural.
This design uses very little material. Hang it with clear fishing line for a floating effect. It pairs well with modern doors or minimal decor.
5. Yarn-Wrapped Clover Frame
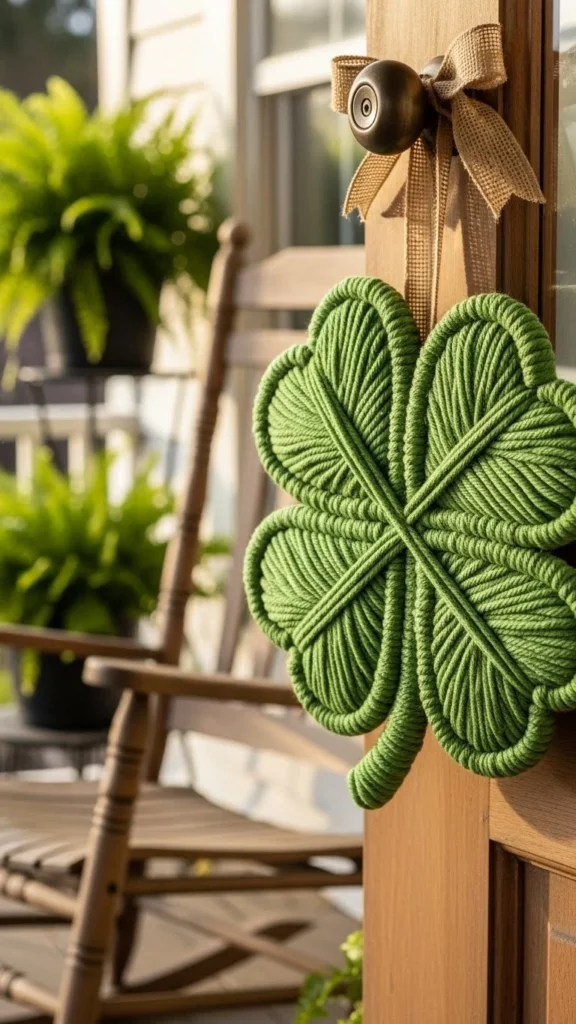
Wrap yarn around a wire or cardboard base. Use thick yarn for faster coverage. Secure the ends with glue on the back.
This style adds softness and works well for indoor doors too. Leftover yarn from other projects makes this nearly free.
6. Painted Canvas Clover
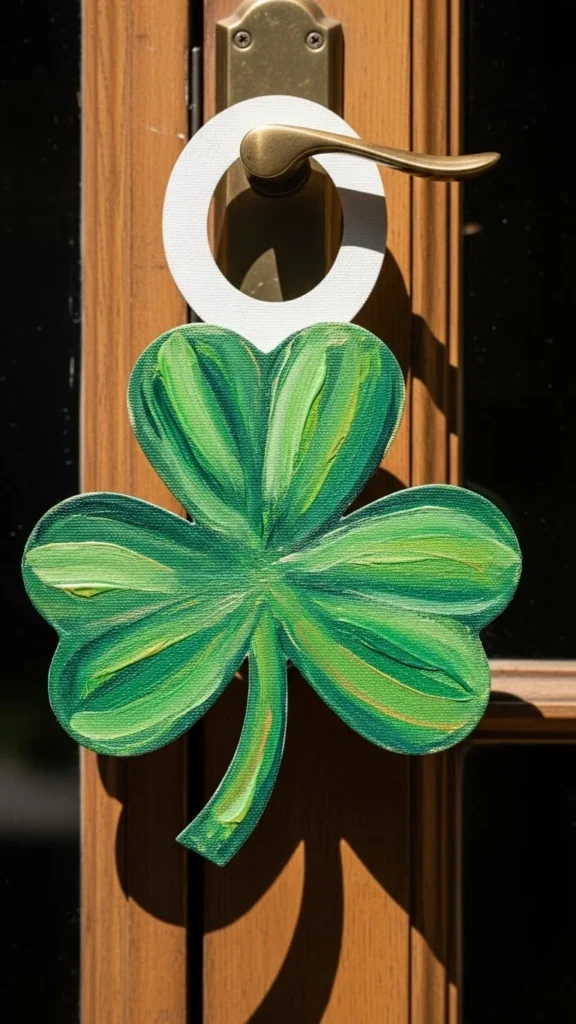
Use a small round canvas and paint a bold clover shape. Acrylic paint dries quickly.
Attach a ribbon to the back with staples or glue. This works for people who enjoy painting without cutting shapes. Canvas packs often cost less than expected.
7. Ribbon Loop Clover
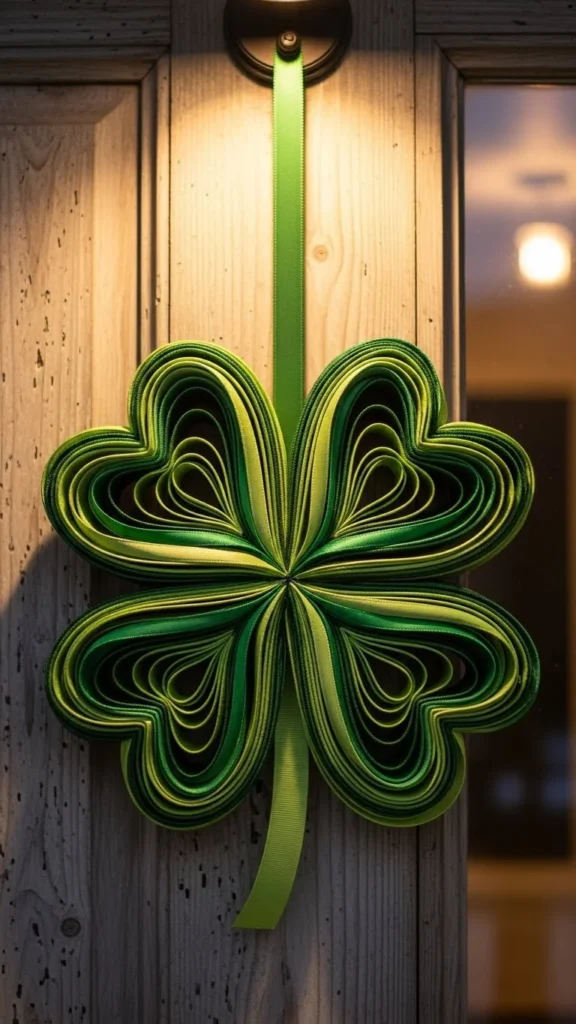
Ribbon loops form the four leaves. Secure them at the center with wire or glue. Mix satin and burlap ribbons for contrast.
This hanger looks full without heavy materials. Ribbon scraps from gift wrapping work well here.
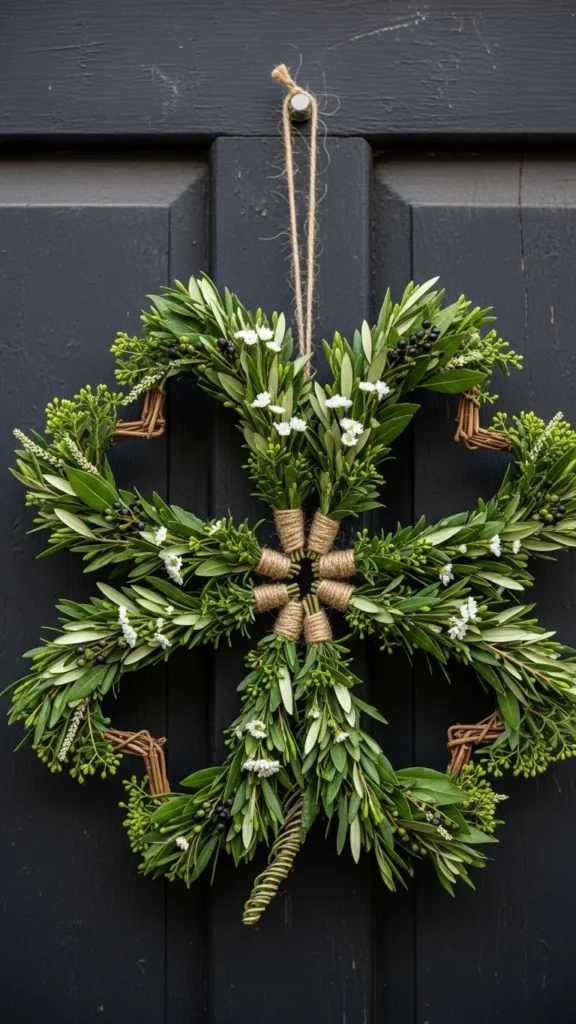
8. Grapevine Clover Wreath
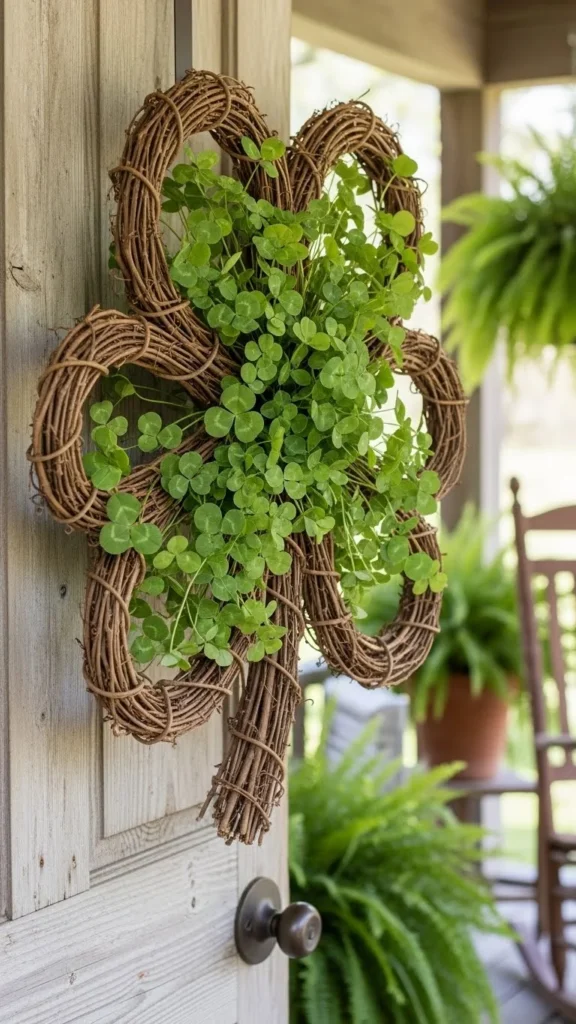
Shape a grapevine wreath into a clover by bending and tying sections. Add a simple bow or small accent.
This style lasts multiple seasons. Store it in a box to keep its shape.
9. Foam Board Painted Clover

Foam board is easy to cut and paint. It keeps the hanger light.
Seal it with clear spray for longer use. This option works well for quick projects.
10. Fabric Scrap Patchwork Clover
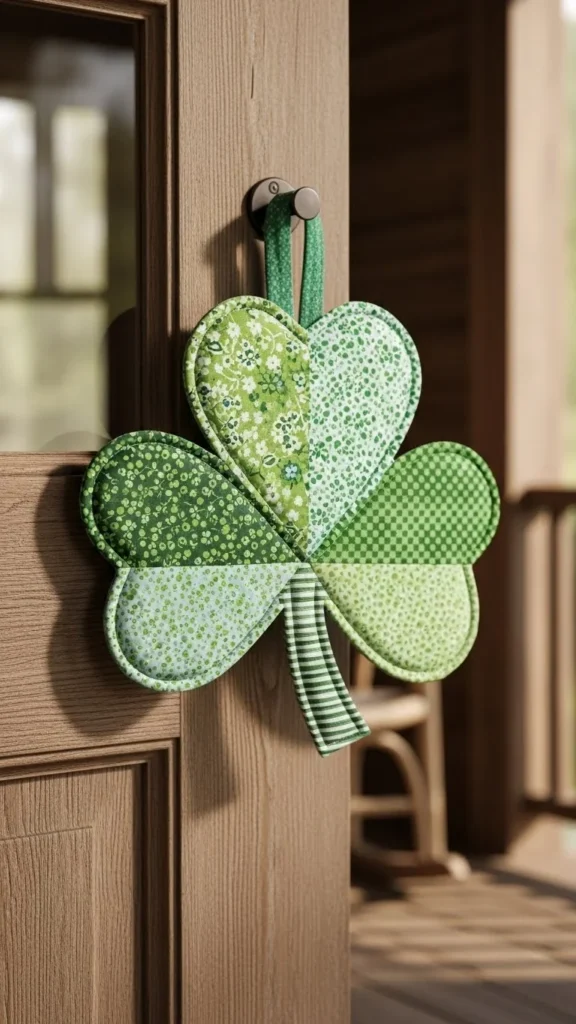
Use fabric scraps from old projects. Stitch or glue them onto a backing.
Patchwork adds personality and keeps costs low. Each piece can tell a small story.
11. Chalkboard Clover Sign
Paint a clover cutout with chalkboard paint. You can change designs each season.
Use chalk markers for cleaner lines. This works well for families who enjoy updating decor often.
12. Embroidered Hoop Clover
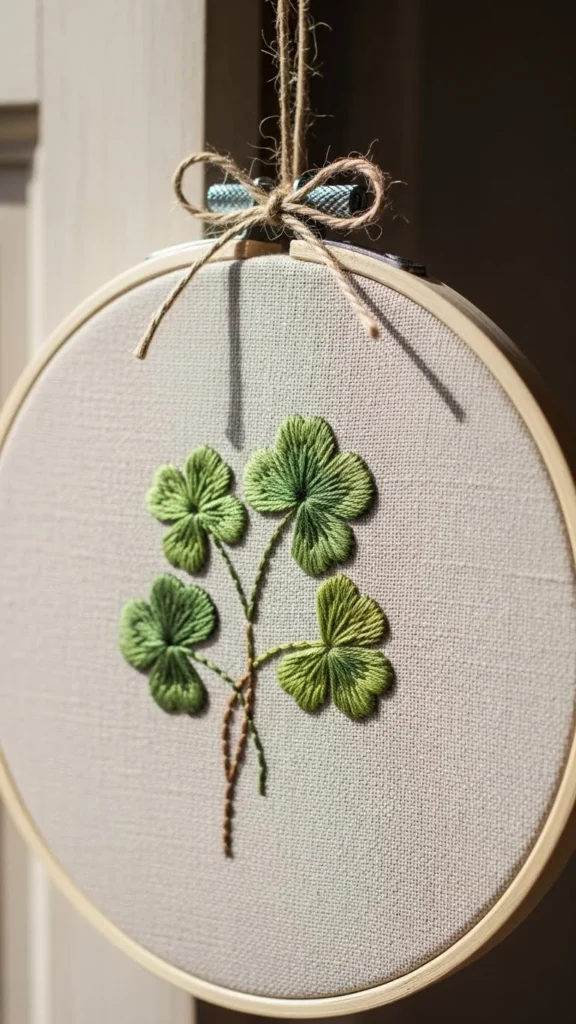
Stitch a simple clover onto fabric in a wooden hoop.
This style feels handmade and calm. It also works indoors after the season.
13. Wooden Bead Clover

Thread wooden beads onto wire to form the shape.
Natural beads keep the look simple. Paint them if you want color.
14. Paper Quilling Clover
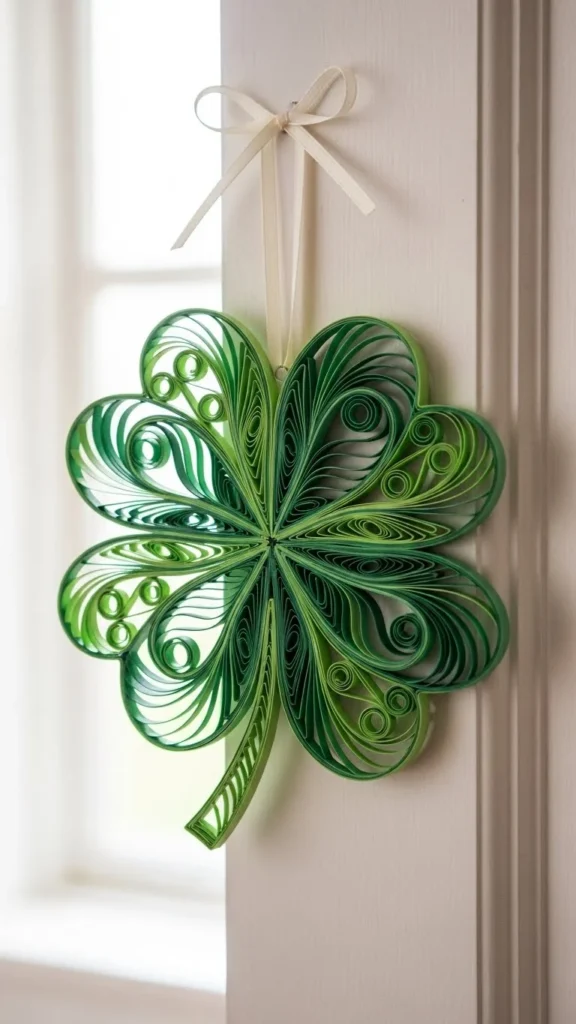
Roll paper strips into loops and glue into a clover.
Seal it with clear spray to protect it. This works best for sheltered doors.
15. Moss-Covered Clover
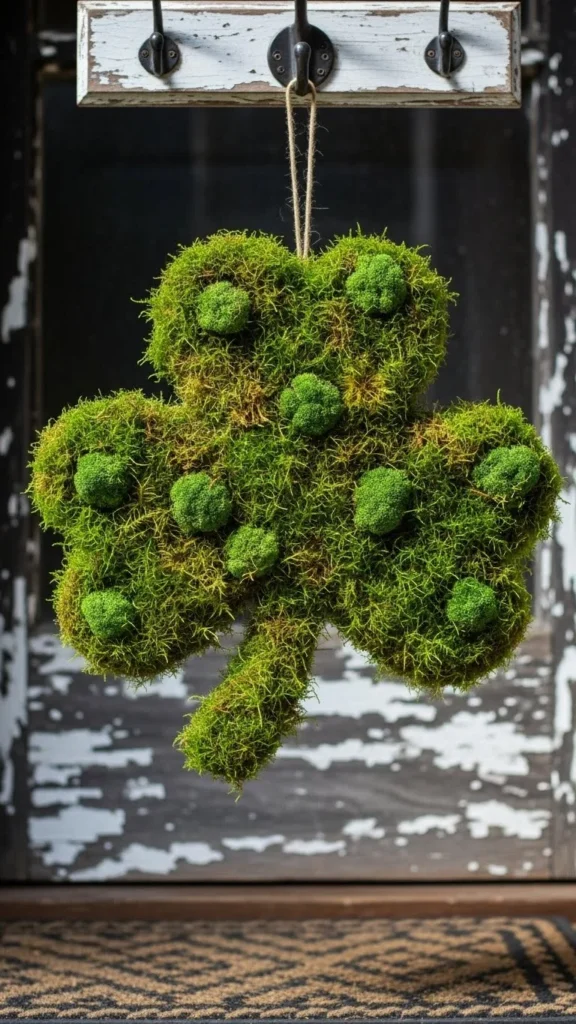
Glue craft moss onto a foam clover base.
This adds texture and a natural look. Keep it dry for longer use.
16. Mini Wreath Clover Cluster
Tie four mini wreaths together.
This creates depth without cutting shapes. Use what you already have.
17. Wooden Slat Clover
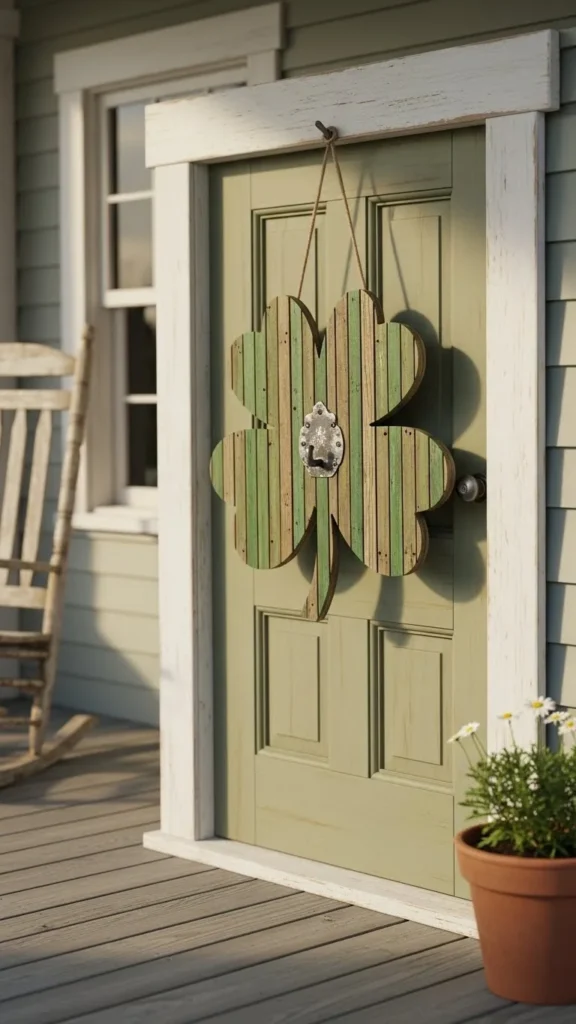
Arrange slats into four loops.
This style looks structured and sturdy. Scrap wood works well.
18. Fabric Tassel Clover
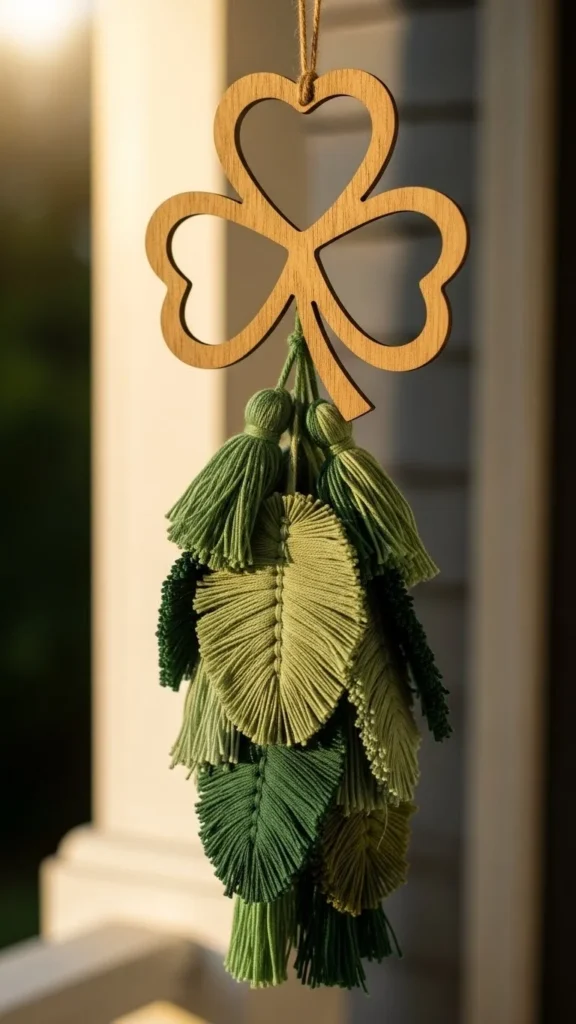
Group tassels into four sections.
This adds movement and works well for covered porches.
19. Clay Hand-Shaped Clover

Air-dry clay shapes easily.
Paint once dry. This style feels personal and unique.
20. Reclaimed Book Page Clover

Fold pages into leaf shapes.
Seal lightly. This gives old books a new role.
21. Faux Leather Clover
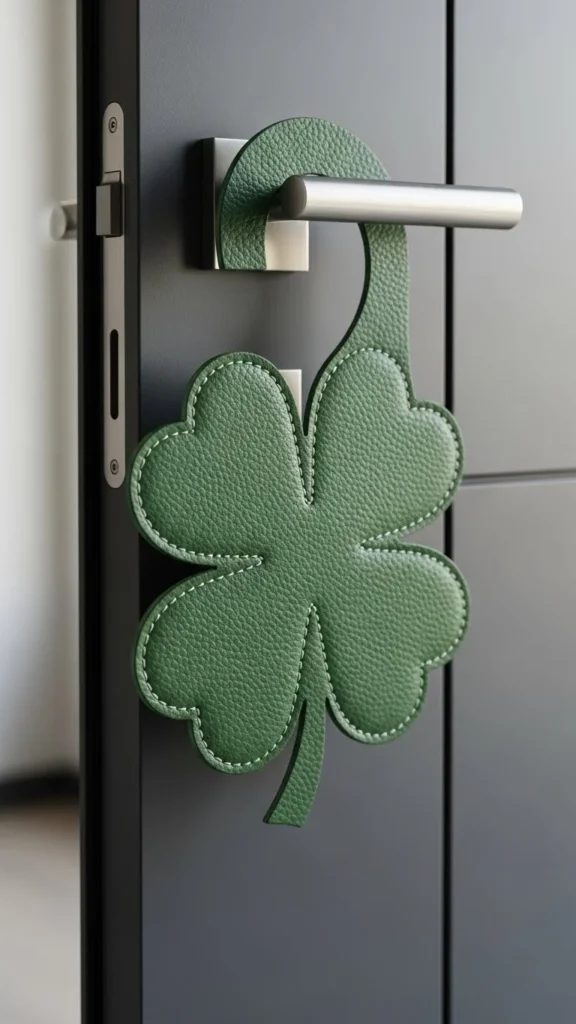
Cut faux leather into shapes.
Glue or stitch edges. This works well for modern homes.
22. Pom-Pom Clover
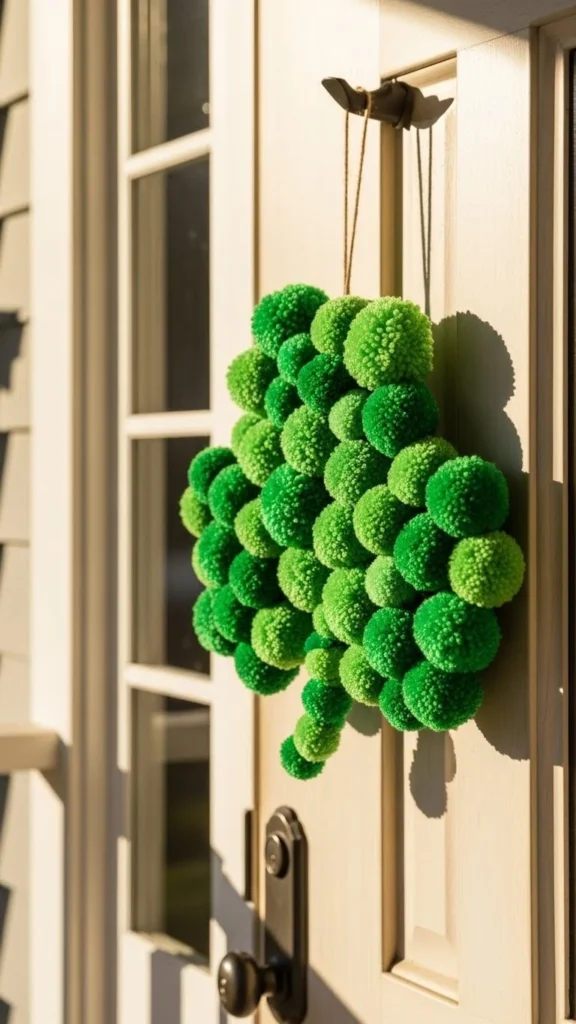
Glue pom-poms into shape.
This feels playful and kid-friendly. Great for family projects.
23. Painted Glass Clover
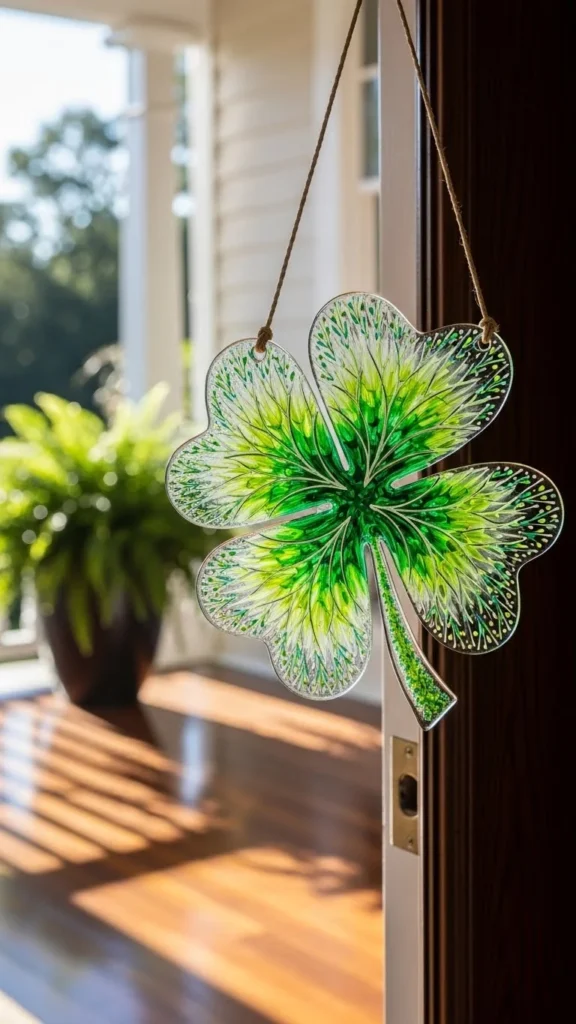
Use glass paint on a clear base.
Hang where light can pass through. This adds a gentle glow.
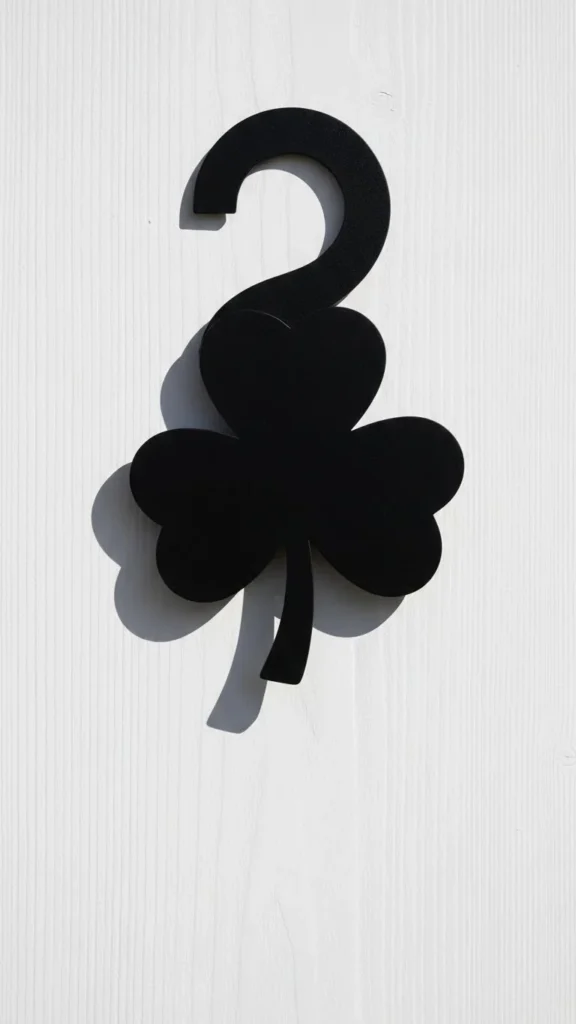
24. Minimal Wood Cutout Clover
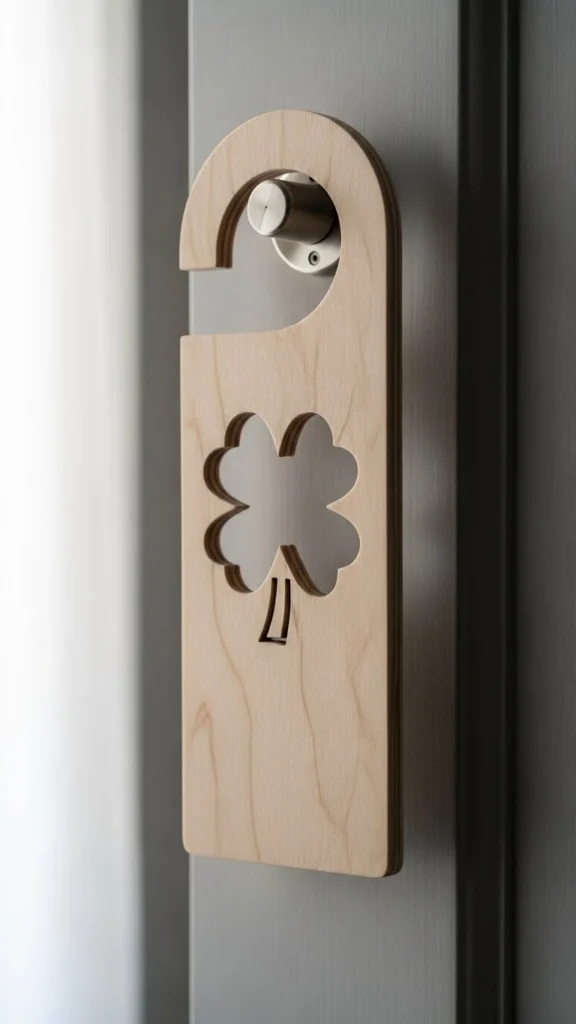
Keep the design clean and simple.
One color or bare wood works well. This suits many styles and stores easily.
Conclusion
Clover door hangers bring warmth and personality to your entryway without large costs or complicated steps. With simple materials, a bit of time, and a clear idea, you can create decor that feels welcoming and personal. Pick one style or mix a few ideas to match your space. Save your favorite, gather supplies, and enjoy crafting a door hanger that feels just right for your home.

Leave a Reply