

A pantry sounds like a luxury—until you realize it doesn’t have to be. You don’t need custom cabinetry, a renovation budget, or extra square footage to create a pantry that actually works. With a little creativity, you can carve out a pantry space in almost any home, even the smallest kitchen or apartment.
This guide will walk you through practical, renter-friendly ways to create a pantry space that looks intentional, stays organized, and makes everyday cooking easier.
Start by Defining What “Pantry” Means for You
Before buying shelves or bins, get clear on what you actually need to store. A pantry doesn’t have to look like a walk-in room—it’s simply a dedicated zone for food storage.
Ask yourself:
- Do you need space for dry goods like rice, pasta, and grains?
- Are snacks taking over your counters?
- Do small appliances need a home nearby?
Once you know your priorities, it’s easier to design a pantry that fits your lifestyle—not just a Pinterest photo.
Quick tip:
- Group items into categories (baking, snacks, breakfast, dinner basics).
- Count how many containers or baskets you realistically need.
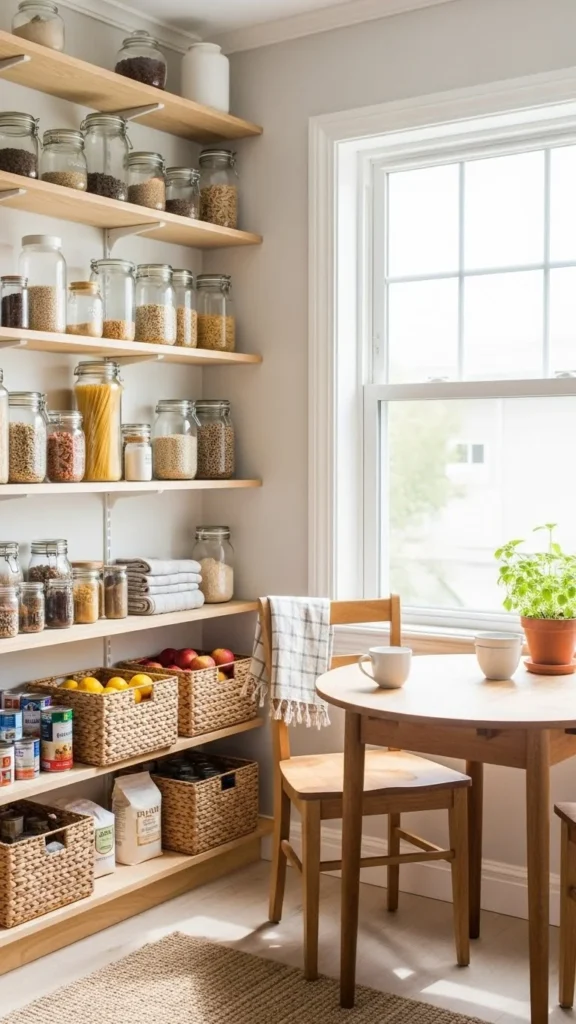
Use Vertical Space You’re Probably Ignoring
Walls are often the most underused pantry opportunity. Even a narrow strip of wall can become valuable storage.
Try these ideas:
- Open shelves above counters, doors, or appliances
- Floating shelves in awkward corners
- Peg rails or hooks for lightweight pantry items
Keep it practical:
- Place everyday items at eye level.
- Store rarely used items higher up.
- Stick to uniform containers for a clean look.
If open shelves feel overwhelming, limit them to one wall so the kitchen still feels calm.
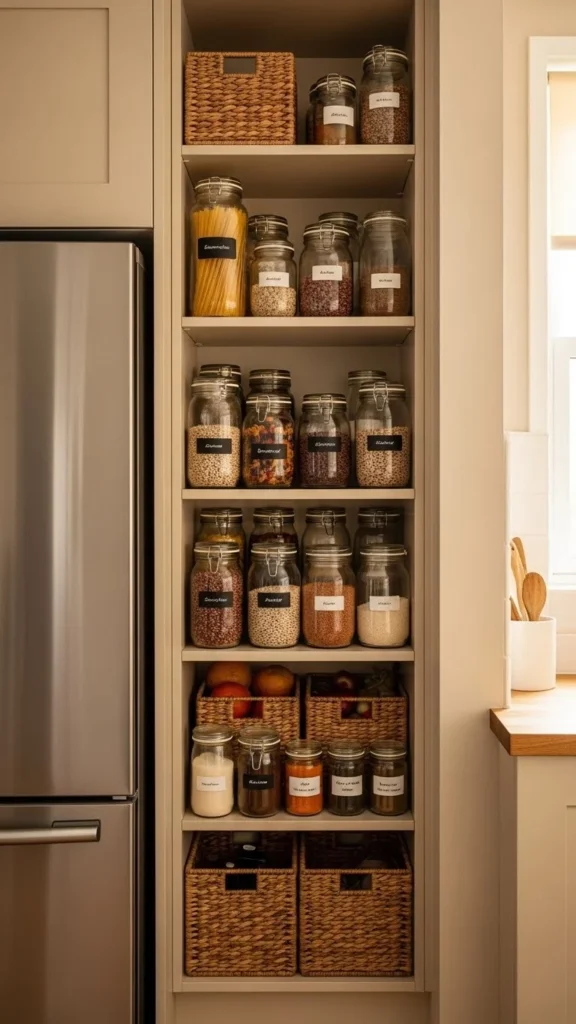
Turn Furniture into a Pantry Solution
No built-in pantry? Furniture to the rescue. This is one of the easiest ways to add storage without permanent changes.
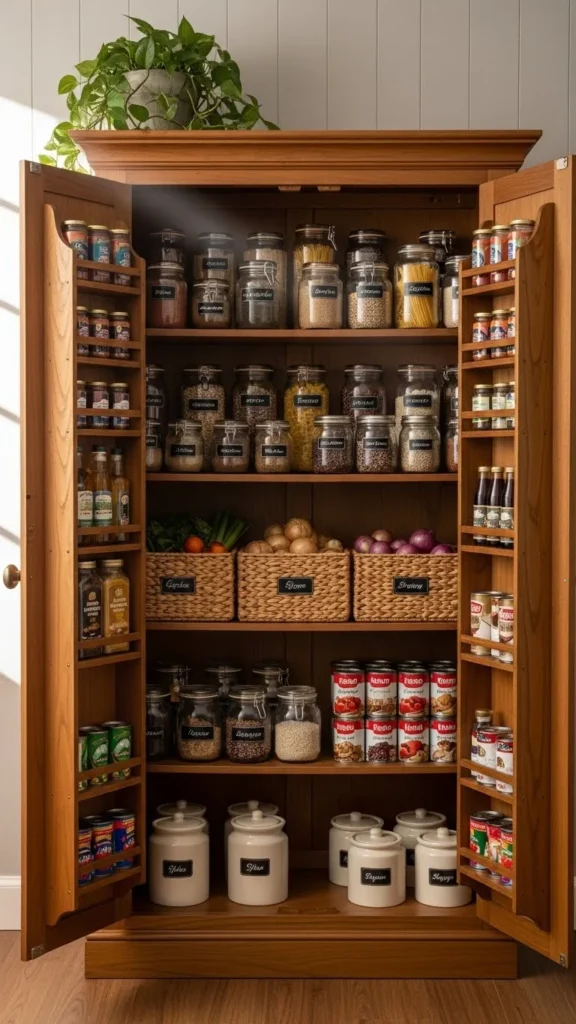
Great pantry-friendly furniture options:
- Tall cabinets or armoires
- Rolling carts with shelves
- Bookcases styled with containers
- Sideboards or buffets near the kitchen
Styling tip:
- Use matching baskets or bins to hide visual clutter.
- Add shelf risers to double your storage.
- Label everything so it stays organized long-term.
This approach works especially well for renters because you can take it with you when you move.
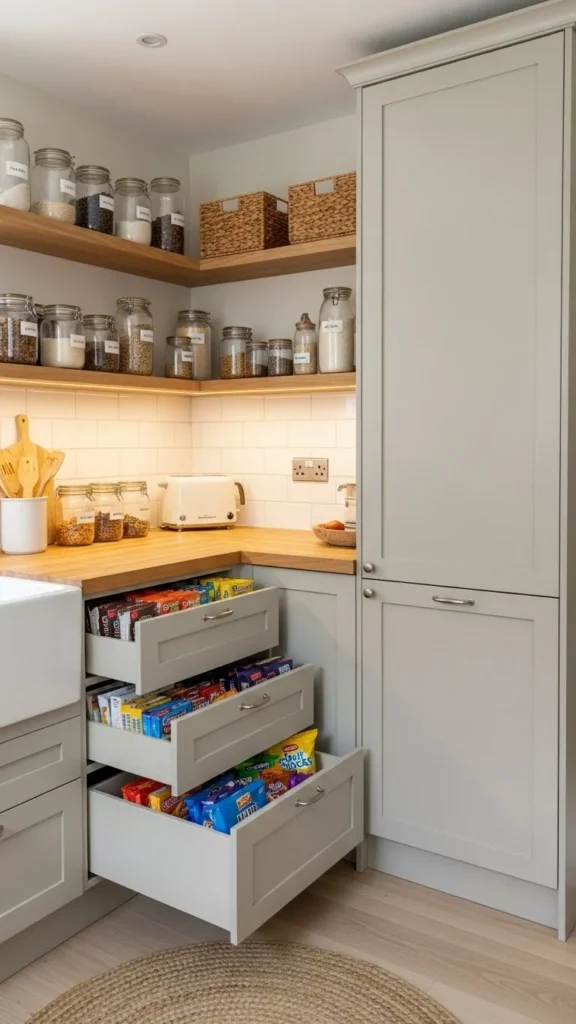
Maximize Hidden and Awkward Spaces
Some of the best pantry spots are hiding in plain sight. Think beyond the obvious.
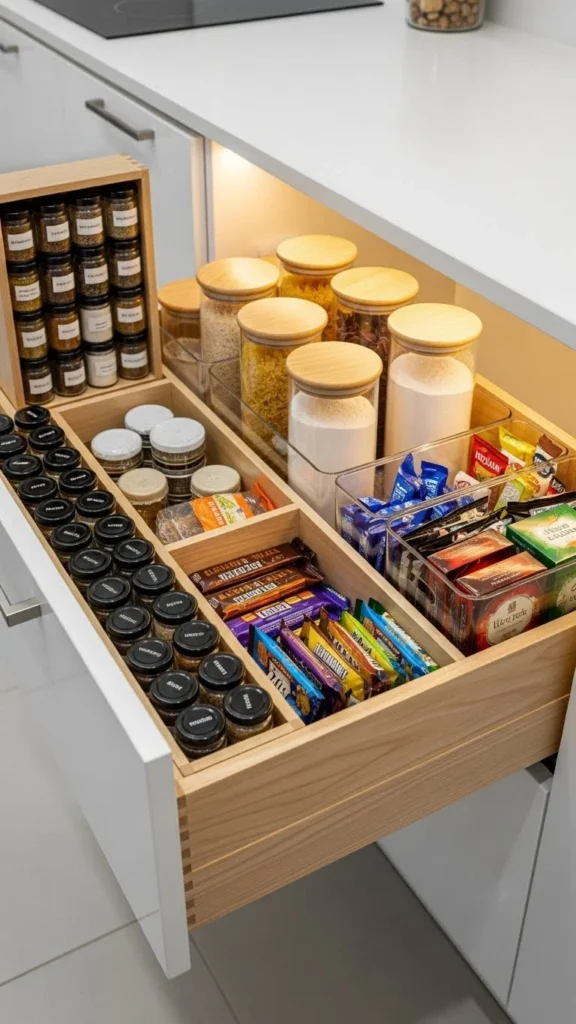
Look for opportunities like:
- Deep drawers with pull-out organizers
- Space between the fridge and wall for a slim cart
- Under-stair storage near the kitchen
- The back of a door with mounted racks
Even a 6-inch-wide rolling cart can hold:
- Canned goods
- Snacks
- Spices
- Baking supplies
The key is choosing storage that slides, pulls, or opens easily so nothing gets forgotten in the back.
Create Zones Instead of One Big Storage Area
If you don’t have space for a single pantry spot, split your pantry into zones around the kitchen.
Examples of pantry zones:
- Baking supplies in one cabinet
- Snacks in baskets on open shelves
- Breakfast items near the coffee area
- Cooking basics close to the stove
Why this works:
- Less clutter in one place
- Faster meal prep
- Easier restocking
Keep it cohesive by using the same containers, colors, or labels across all zones.
Make It Look Intentional (Not Temporary)
Even budget-friendly pantry setups can look polished with a few styling choices.
Easy upgrades:
- Transfer food into clear jars
- Stick to a neutral color palette
- Use wood, metal, or woven textures
- Add simple labels for consistency
Avoid overcrowding:
- Leave a little breathing room on shelves
- Don’t stack items too high
- Edit regularly to remove expired items
A pantry that looks good is one you’ll actually keep organized.
Final Thoughts: Your Pantry, Your Rules
Creating a pantry without a built-in isn’t about copying someone else’s kitchen—it’s about solving your own storage problems in a smart, flexible way. Whether it’s a cabinet, a cart, or a few well-placed shelves, the right setup can completely change how your kitchen functions.
Start small. Use what you already have. Adjust as you go.
Save this guide for later and come back when you’re ready to reorganize your kitchen—your future self will thank you.

Leave a Reply