

Decorating your home doesn’t have to be expensive. In fact, you can transform any space with a few simple DIY projects that don’t break the bank. One of the easiest and most cost-effective ways to add style and function to your walls is by installing DIY wall shelves. Not only are they practical, but they can also serve as a creative outlet to personalize your living space.
If you’re ready to get your hands dirty and create something unique, keep reading to discover how to decorate with DIY wall shelves on a budget.

Step 1: Choose the Right Shelf Style for Your Space
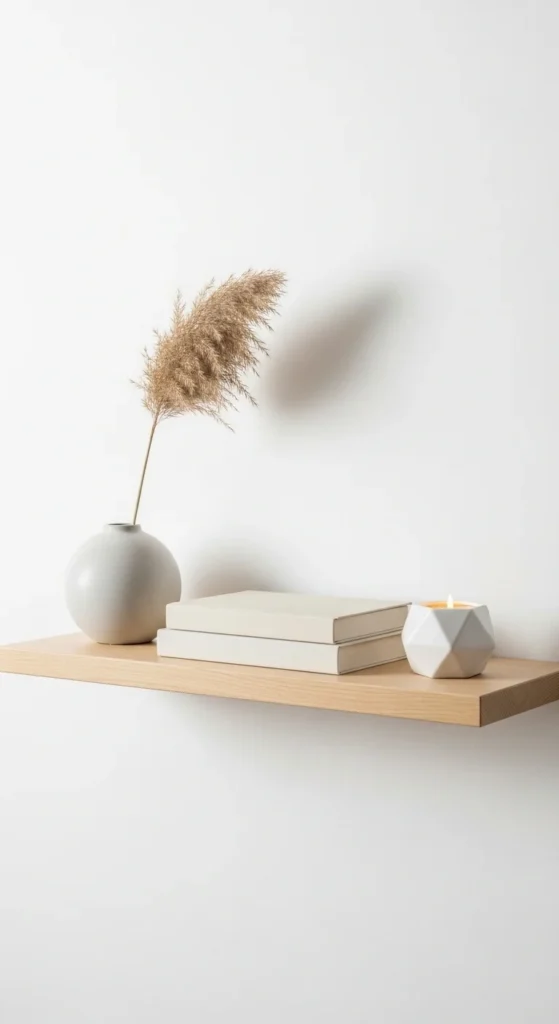
When it comes to DIY wall shelves, there’s no one-size-fits-all approach. The key is to choose a style that complements your existing décor while meeting your storage needs. From minimalist floating shelves to rustic wooden units, the possibilities are endless. Here are a few ideas to get you started:
- Floating Shelves: These shelves appear to “float” on the wall with no visible brackets, creating a sleek, modern look.
- Corner Shelves: Ideal for small spaces, corner shelves allow you to make the most of every inch.
- Industrial Shelves: Combine wood and metal for an edgy, industrial vibe.
- Wooden Ladders: For a farmhouse-inspired look, wooden ladders can be hung vertically or leaned against the wall to hold books, plants, or other decorative items.
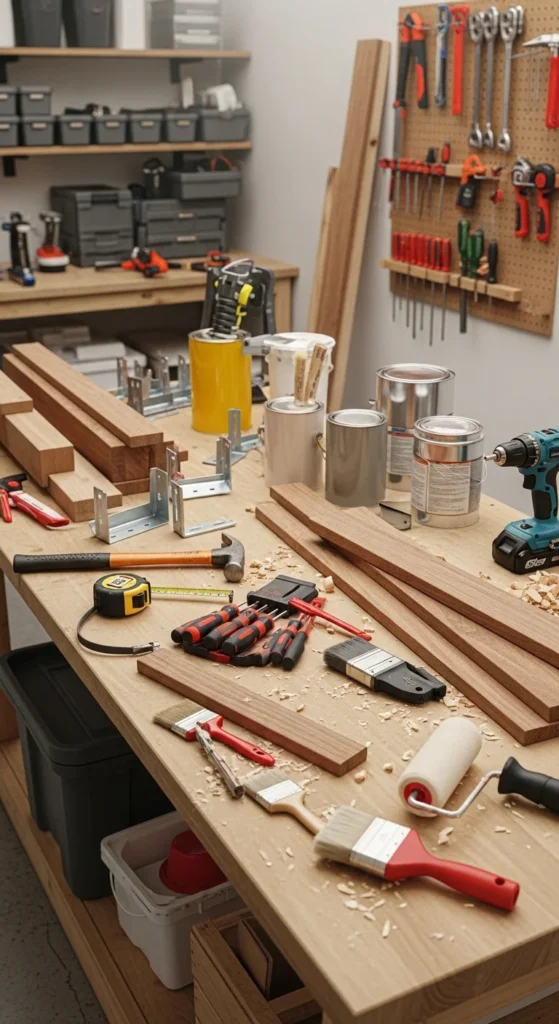
Step 2: Gather Your Materials
Before you dive into building your shelves, make sure you have all the necessary materials. The good news is, most DIY wall shelf projects require very little in terms of supplies. You’ll likely have many of these items already lying around your home:
- Wooden Planks: Choose from pine, oak, or reclaimed wood. Pallet wood can also work for a more rustic feel.
- Brackets: If you’re not going for a floating shelf, you’ll need brackets to support the wood.
- Screws and Wall Anchors: These are essential for securely attaching your shelves to the wall.
- Paint or Stain: Customize your shelves with a coat of paint or wood stain to match your décor.
- Tools: You’ll need a drill, saw (if cutting the wood to size), screwdriver, and measuring tape.
Step 3: Measure and Plan Your Shelf Placement
The next step is to measure your space carefully before you start cutting or drilling. Start by deciding where you want to place your shelves. Keep these tips in mind:
- Height Matters: If you’re placing shelves above furniture, aim for at least 6 inches of space between the shelf and the top of the furniture. This will give the area a balanced look.
- Symmetry is Key: When arranging multiple shelves, make sure they’re evenly spaced and aligned. Use a level to ensure that each shelf is perfectly straight.
- Functional Arrangement: Think about how you plan to use the shelves. Will they hold books, decorative objects, or plants? Ensure that the shelf placement allows for easy access.
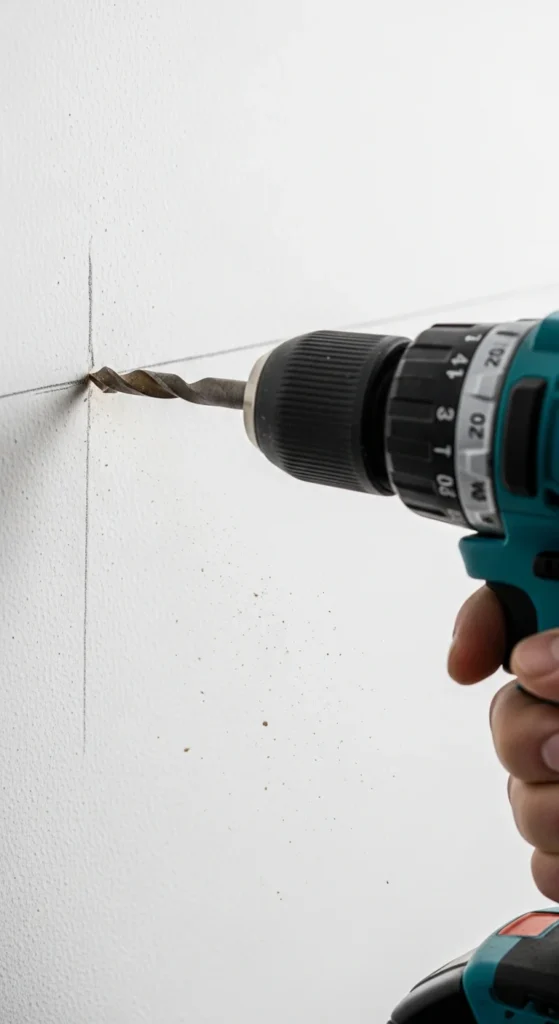
Step 4: Install Your Shelves
Now comes the fun part—installation! This part might sound intimidating, but with the right tools and a little patience, anyone can do it. Here’s how to install your DIY wall shelves:
- Mark the Wall: Use a pencil and measuring tape to mark where you want to place the brackets or shelf supports.
- Drill Pilot Holes: Drill pilot holes into the wall, making sure to hit the studs for maximum stability. If you can’t find studs, use wall anchors for extra support.
- Attach the Brackets: Secure the brackets to the wall using screws. If you’re using floating shelves, ensure that the brackets are installed correctly to support the weight of the shelf.
- Place the Shelf: Once the brackets are installed, carefully place the shelf onto the brackets. Secure it with screws if needed.
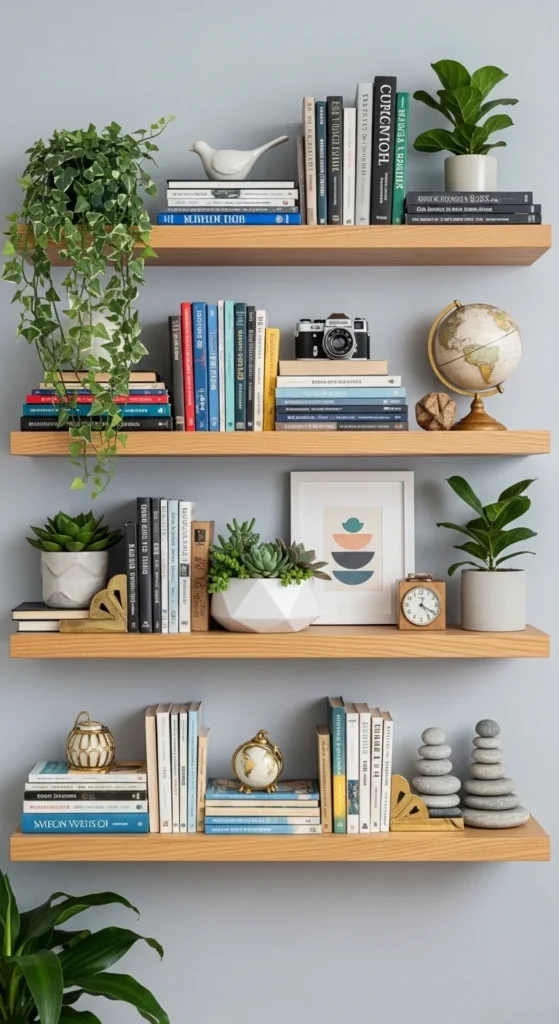
Step 5: Decorate Your Shelves
Once your shelves are securely in place, it’s time to make them your own. The fun part is arranging your décor. Here are a few ideas to help you style your new shelves:
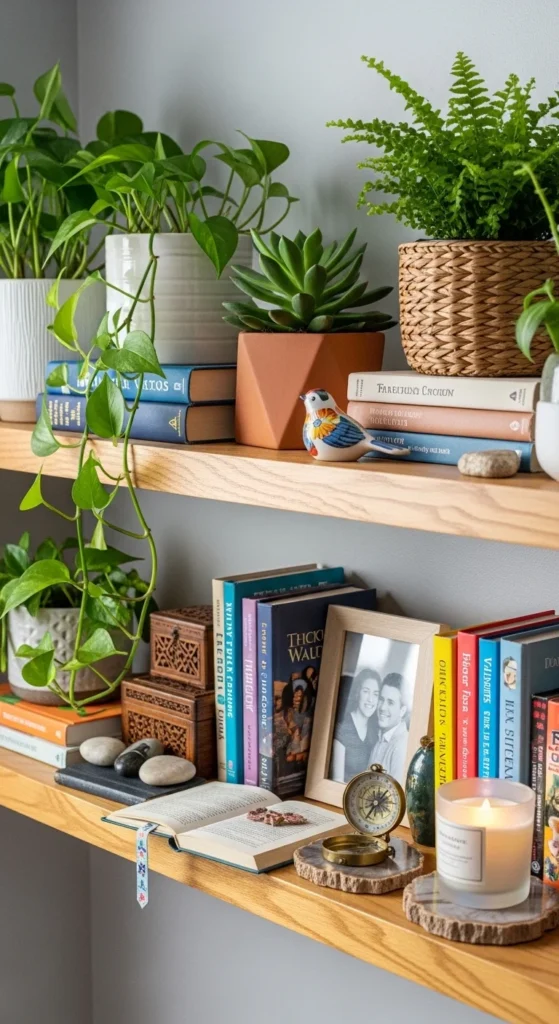
- Mix Heights: Use items of different heights to create visual interest. For instance, place a tall vase next to a small sculpture or stack of books.
- Add Greenery: Plants are a perfect addition to any shelf, and they help add color and life to the space.
- Showcase Personal Items: Incorporate family photos, souvenirs from trips, or other personal items to make the space feel uniquely yours.
- Group Similar Items: Grouping similar items together (like all books or all plants) creates a cohesive look.
Conclusion: Your Stylish, Budget-Friendly Space Awaits!
With a little creativity and elbow grease, you can decorate your walls with stunning DIY shelves that not only add style but also save you money. Whether you go for floating shelves, corner units, or rustic wood designs, the options are endless. Plus, the satisfaction of building and styling your shelves yourself makes it even more rewarding.
So, grab your tools, pick out your materials, and start building your own custom wall shelves today! Who knows? Your home might just be the next Pinterest sensation.
Save this idea for later and start planning your DIY wall shelf project today!

Leave a Reply